Installing Engineered Hardwood Flooring Ourselves
This post contains affiliate links that means if you make a purchase through one of the links I provide, I might get a very small somethin’ to help upkeep this blog, at absolutely no extra cost to you.
Diy Engineered Hardwood Floor Install and What Went Wrong.
T H E O N E R O O M C H A L L E N G E: W E E K 2
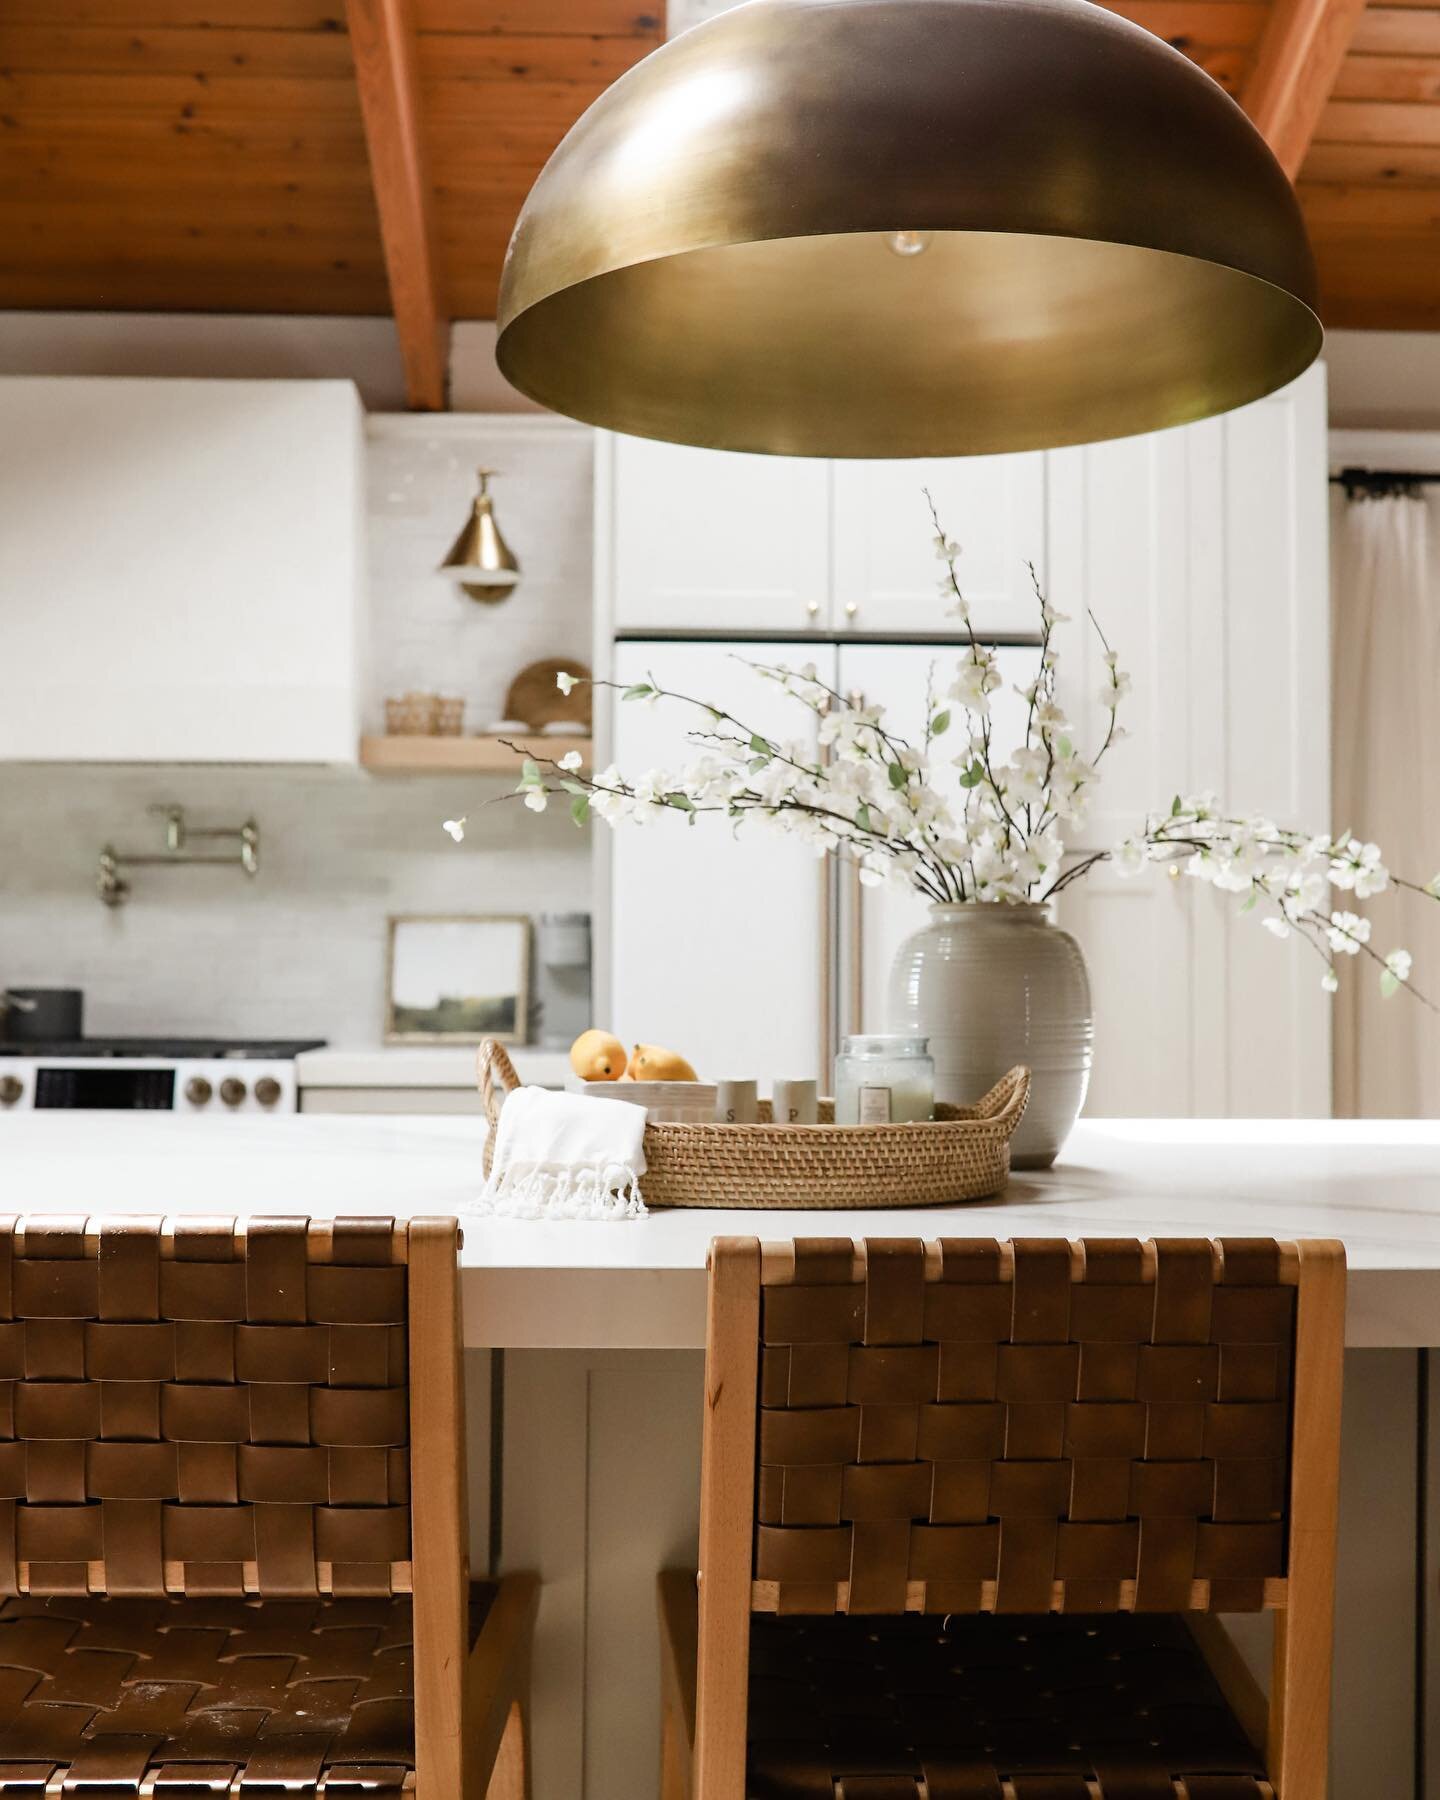
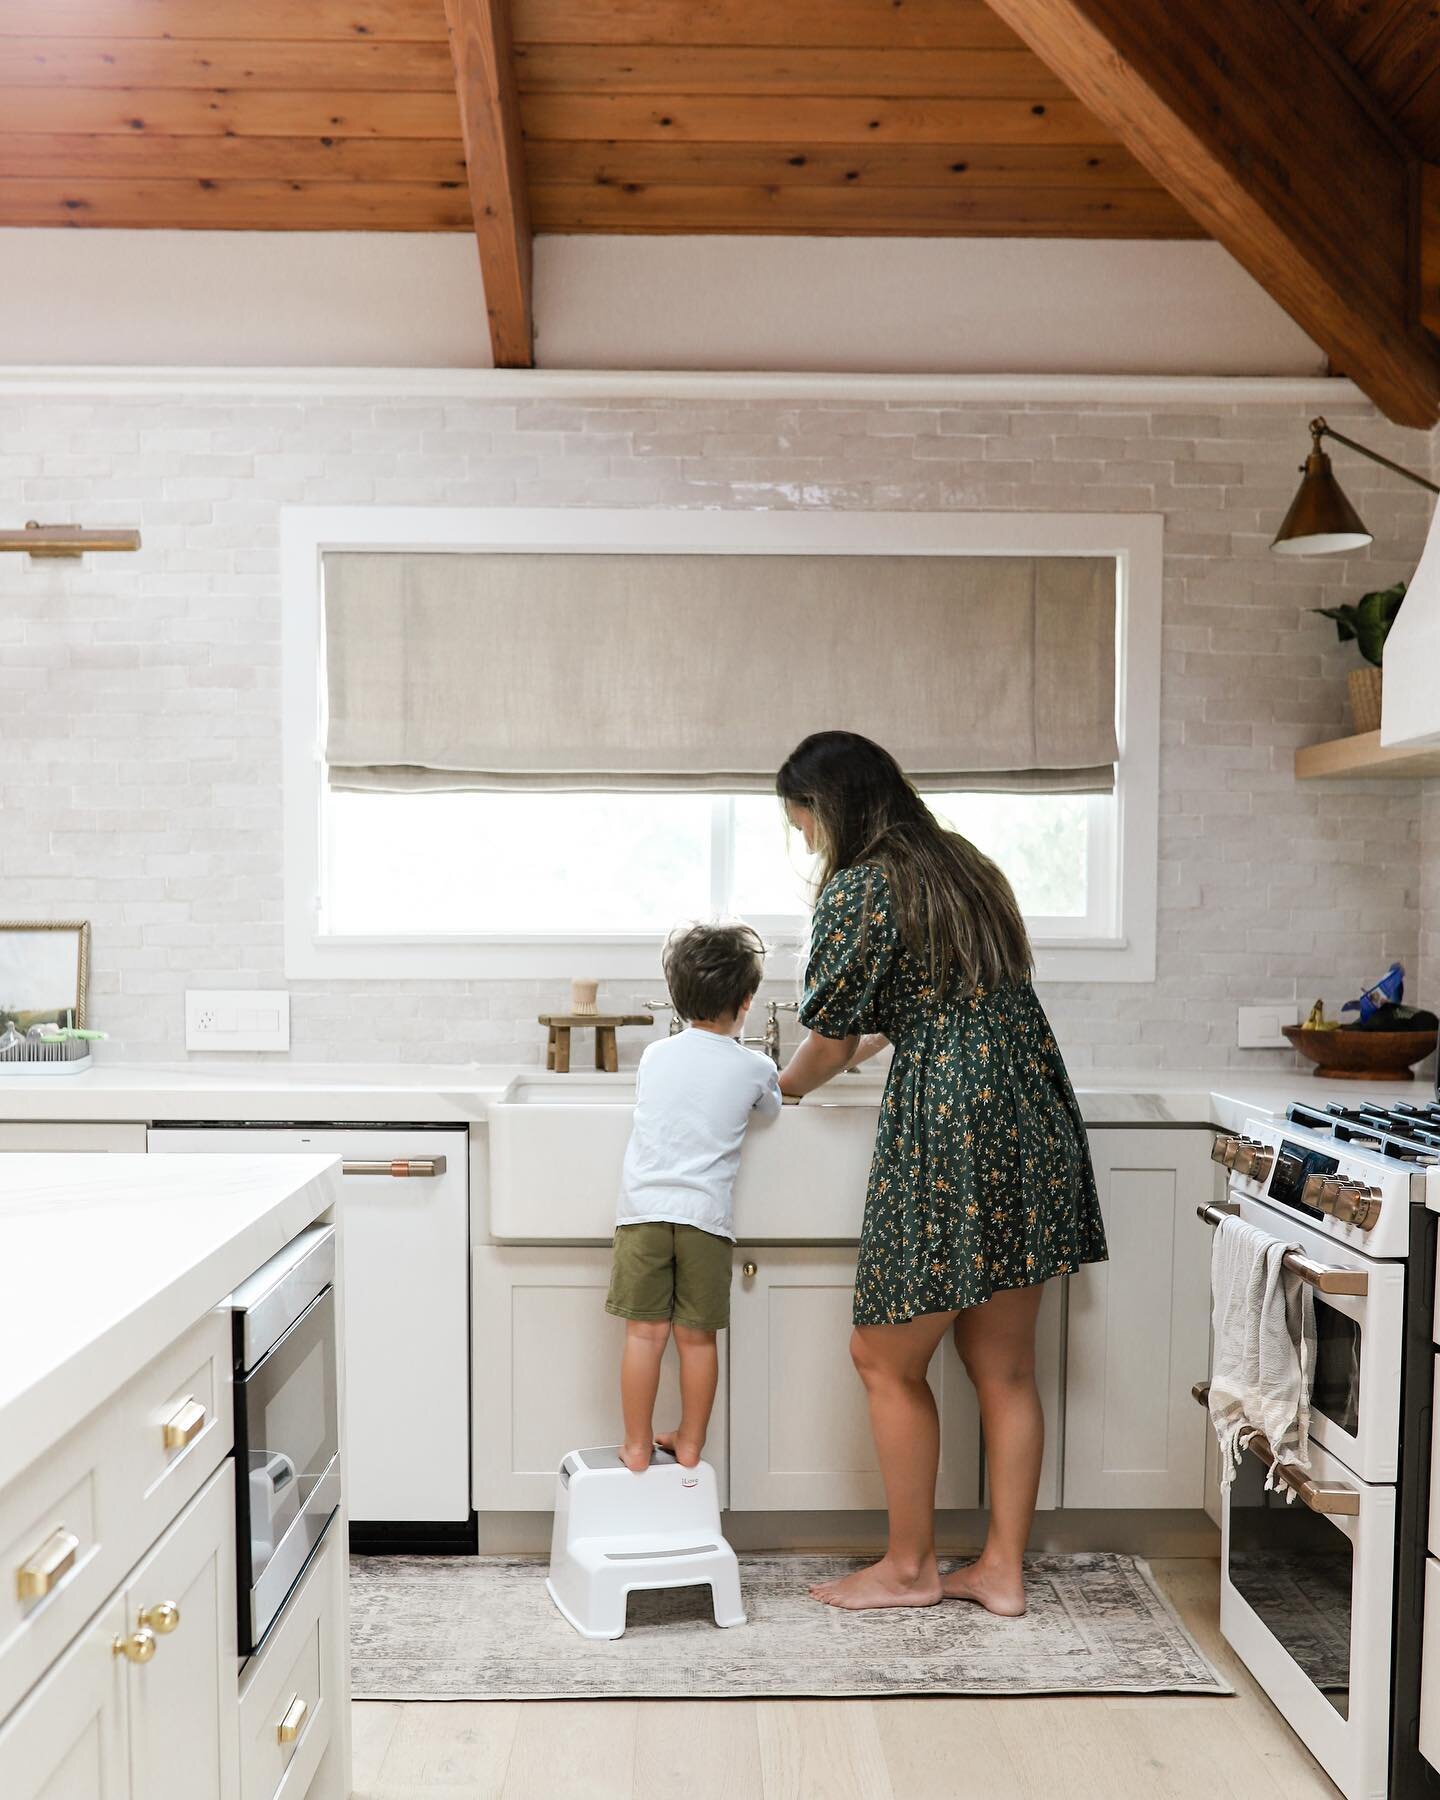
We have laid vinyl plank flooring countless times (ok, like 3 times) so naturally we asked ourselves how hard can laying engineered hardwood flooring be? Well, the answer is, it’s pretty easy. I mean we did have one moderate hiccup which I’ll get to in a few, but overall the process wasn’t bad at all. Why did we go with engineered hardwood flooring? Good question. I wanted a wide (think 7” or so) and long plank in a very light natural color. I’m sure a wide and long, light wood vinyl plank exists, but I couldn’t find one that I liked. In our main living area we have tongue and groove vaulted ceilings in a rich, warm stain. We didn’t want to paint the ceilings or add drywall, so I wanted to go super light on the floors to keep the space feeling light and bright. I’m a little nervous about pulling the two wood tones together, but I think I can make it work.
T H E F L O O R
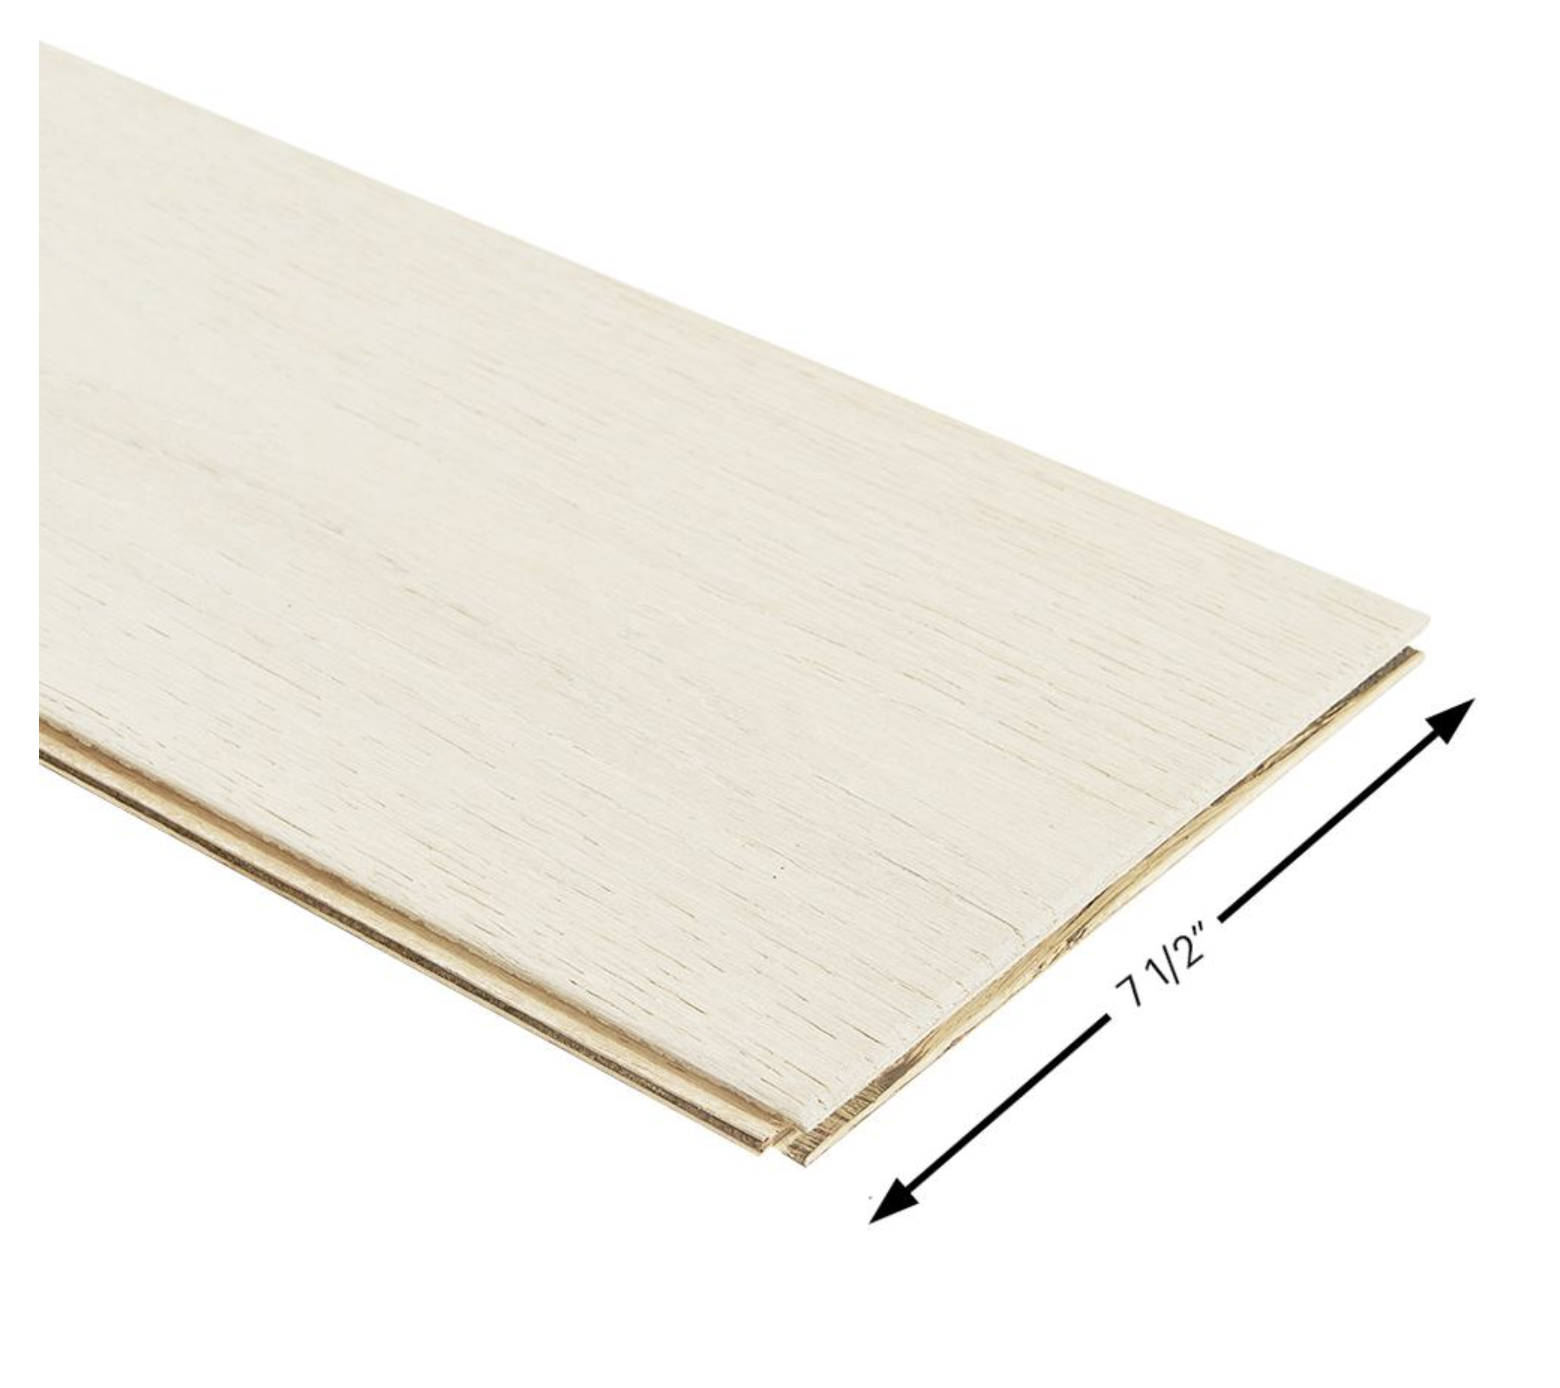
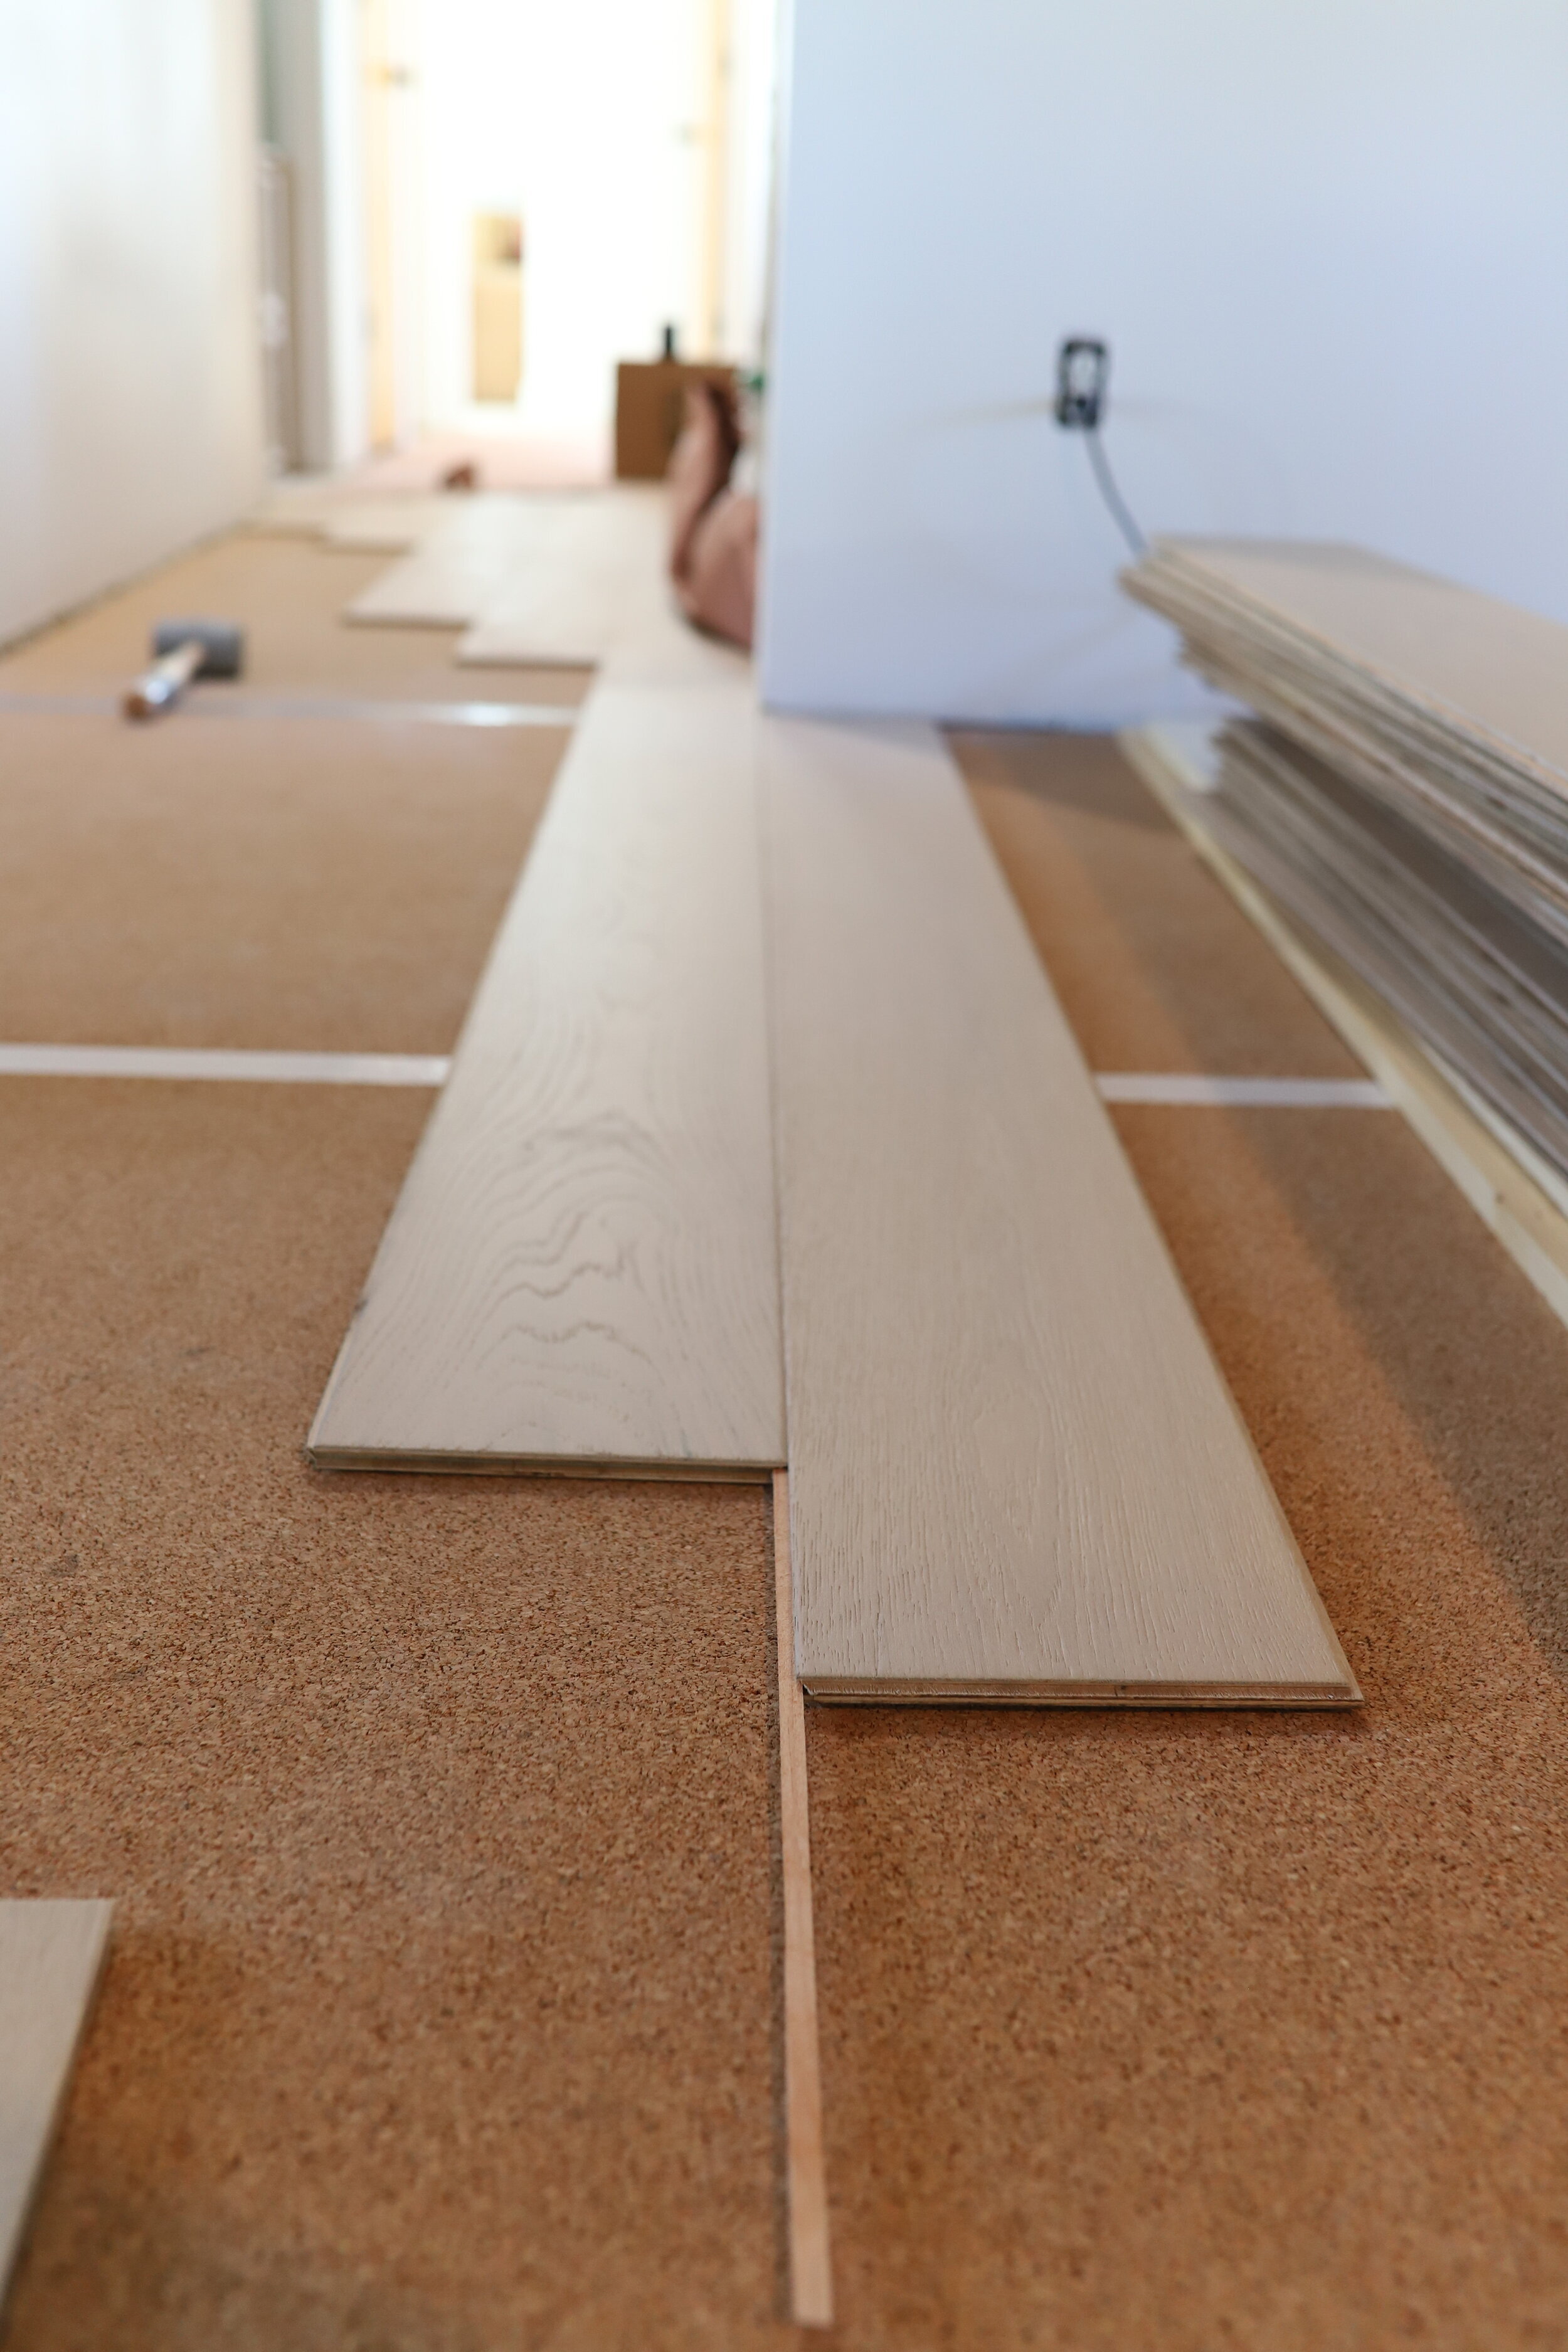
After purchasing a bunch of samples, we finally decided on a light oak, 7 1/2” wide plank from Malibu Wide Plank in French Oak Rincon. We ordered it from Home Depot. It comes in variable lengths, as well as matching trim and quarter round strips. It has a texture to it, and it feels really nice to walk on. It has a 2 mm wear layer on it meaning it can be sanded and refinished probably just one time. It’s a beautiful light white oak color, although I will say in low natural light it has a slight pink tinge to is, but that totally disappears in natural light.
T H E S U P P L I E S
Underlayment
We chose a cork underlayment from Home Depot and used Roberts 7250 glue to adhere it to our plywood subfloor. We wanted something emphasizing a sound barrier as we have a toddler and dog running around.


Tools

T H E I N S T A L L A T I O N
The first thing we did was make sure our floor was level . We had to pour some self leveling concrete in a small area right in front of the door because it was too big of a dip. There were other areas in the kitchen that could have used some attention, but we didn’t think we needed to fix it. Next we scraped all the shmootz off the floor with a scraper tool and removed excess nails from the previous floor. We spread some of the cork underlayment glue on the floor and rolled out the underlayment. Then we sorted through all the flooring pieces and took out the longest and lightest pieces and separated all the lengths in different stacks. We wanted the long and lightest planks to be in the main walking areas, and the darker more knotted pieces to be hidden under the cabinets or under where the dining room table would go.

The floor we chose was tongue and groove and gave a couple of options for install: glue down, staple, or free float. We opted to staple given that our floor had some uneven spots and we didn’t want to hear any tapping hollow sounds if the floor popped up in places. I absolutely would do the staple method again, it feels so secure and there aren’t any areas that feel like they are floating. Also, the power of the staple also gave the boards one last tap as it shot the staple in, tightening the seams even further. I found the flooring easy to install and would do the staple down method again.

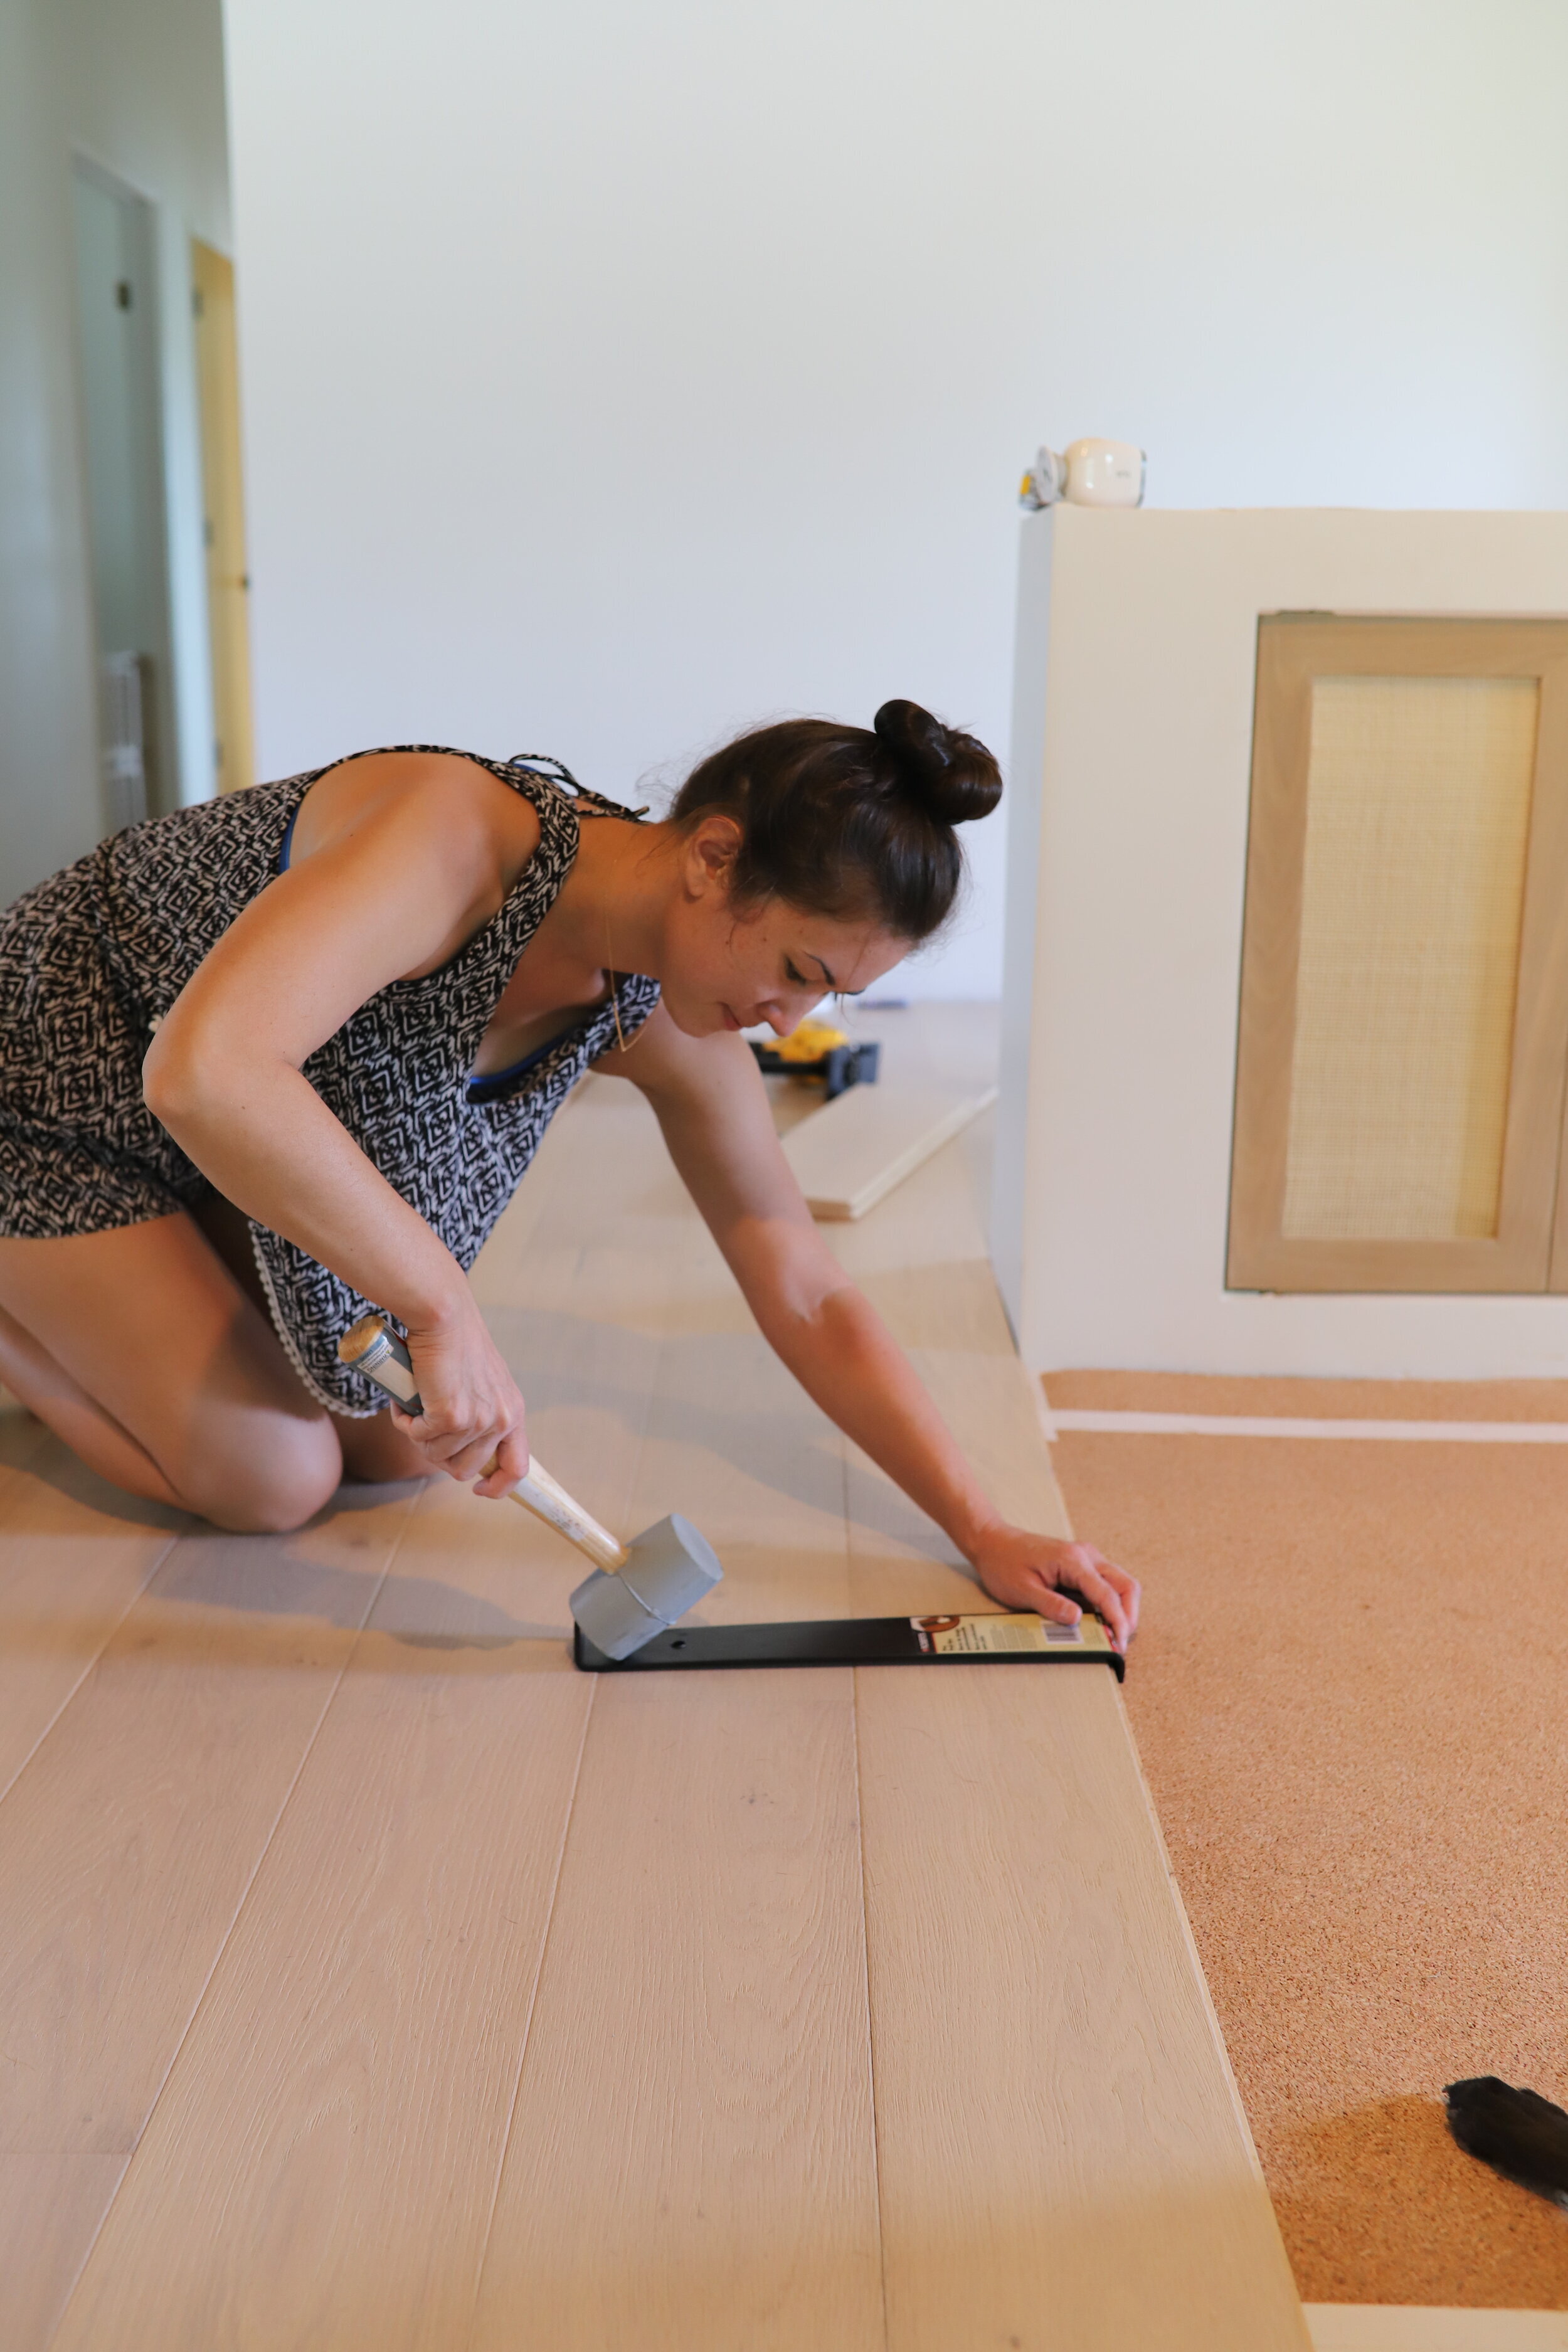
We used the flooring tool and mallet to tap the boards into place, then used the flooring nailer to secure the boards, shooting a staple in about every 6”. You could also use a scrap pieces of flooring to do the tapping, but once you get to the end of the row, this tool comes in handy to squeeze between the wall and the last plank to make it tight.
THE HICCUP
So when you lay vinyl plank flooring you don’t staple, so the order in which we laid the flooring didn’t seem crucial to us. We finished the bedrooms and the hallways weeks ago and made our way through the hallway and out to the living area. Well, if you plan on stapling your flooring (which we did because of our slightly unlevel flooring) it matters which direction you go. You should definitely start at one end of the house and work your way to the opposite end.
The flooring stapler nails the staples into the tongue of the tongue and groove boards. So because our flooring popped out in the middle of the hallway, we were unable to access the tongue area on the boards needing to go to the front door. We thought long and hard about it and ended coming up with a solution.
We ripped our own tongue.
We used a 2 x 4 and shaved pieces off that were about 5/16th thick. We then placed this in the groove of the board and butted up another board with the groove facing it. I called it, “butt to butt”. Basically we just needed the tongue there to keep the board from making a mountain peak. We added wood glue as well, and put some packs of flooring to let it sit overnight, and it worked! You can’t even tell. But lesson learned, when stapling in the tongue are, it definitely matters which order/way you lay the flooring. And yes, we could have just stopped the floor in the hallway door and placed a transition strip, but who would ever want such a thing if they could avoid it?
Overall, I love the look and feel of the floor we chose. Install took us 2 days to conquer the kitchen and living room area. The wide and long planks made things go quickly and the stapling of the floor didn’t add much time at all. I think we did a great job and I’m happy we decided to tackle the project ourselves. I would say if you’re considering doing your own hardwood floor install yourself, go for it. Next up, skylight install!

S H O P
Be sure to click the logo below and check out all the other Featured Designers as well as Guest Participants.