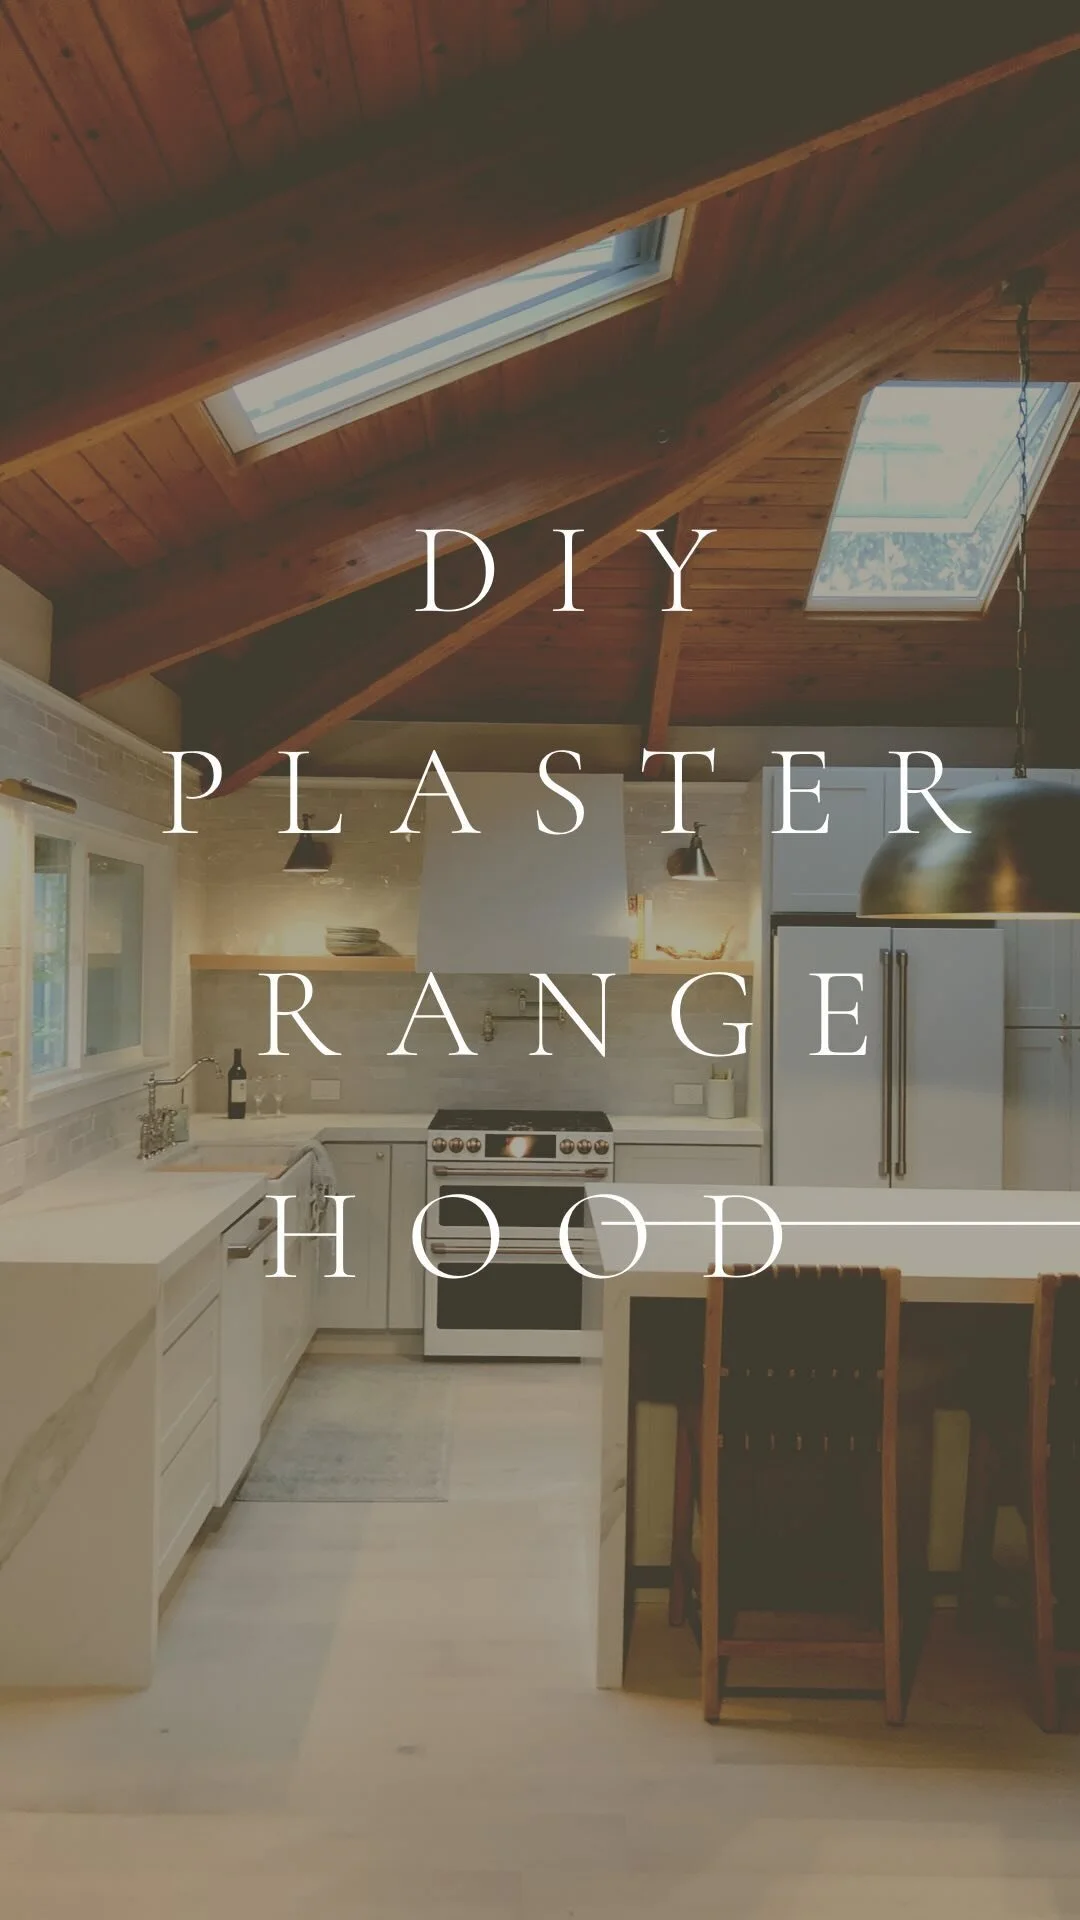
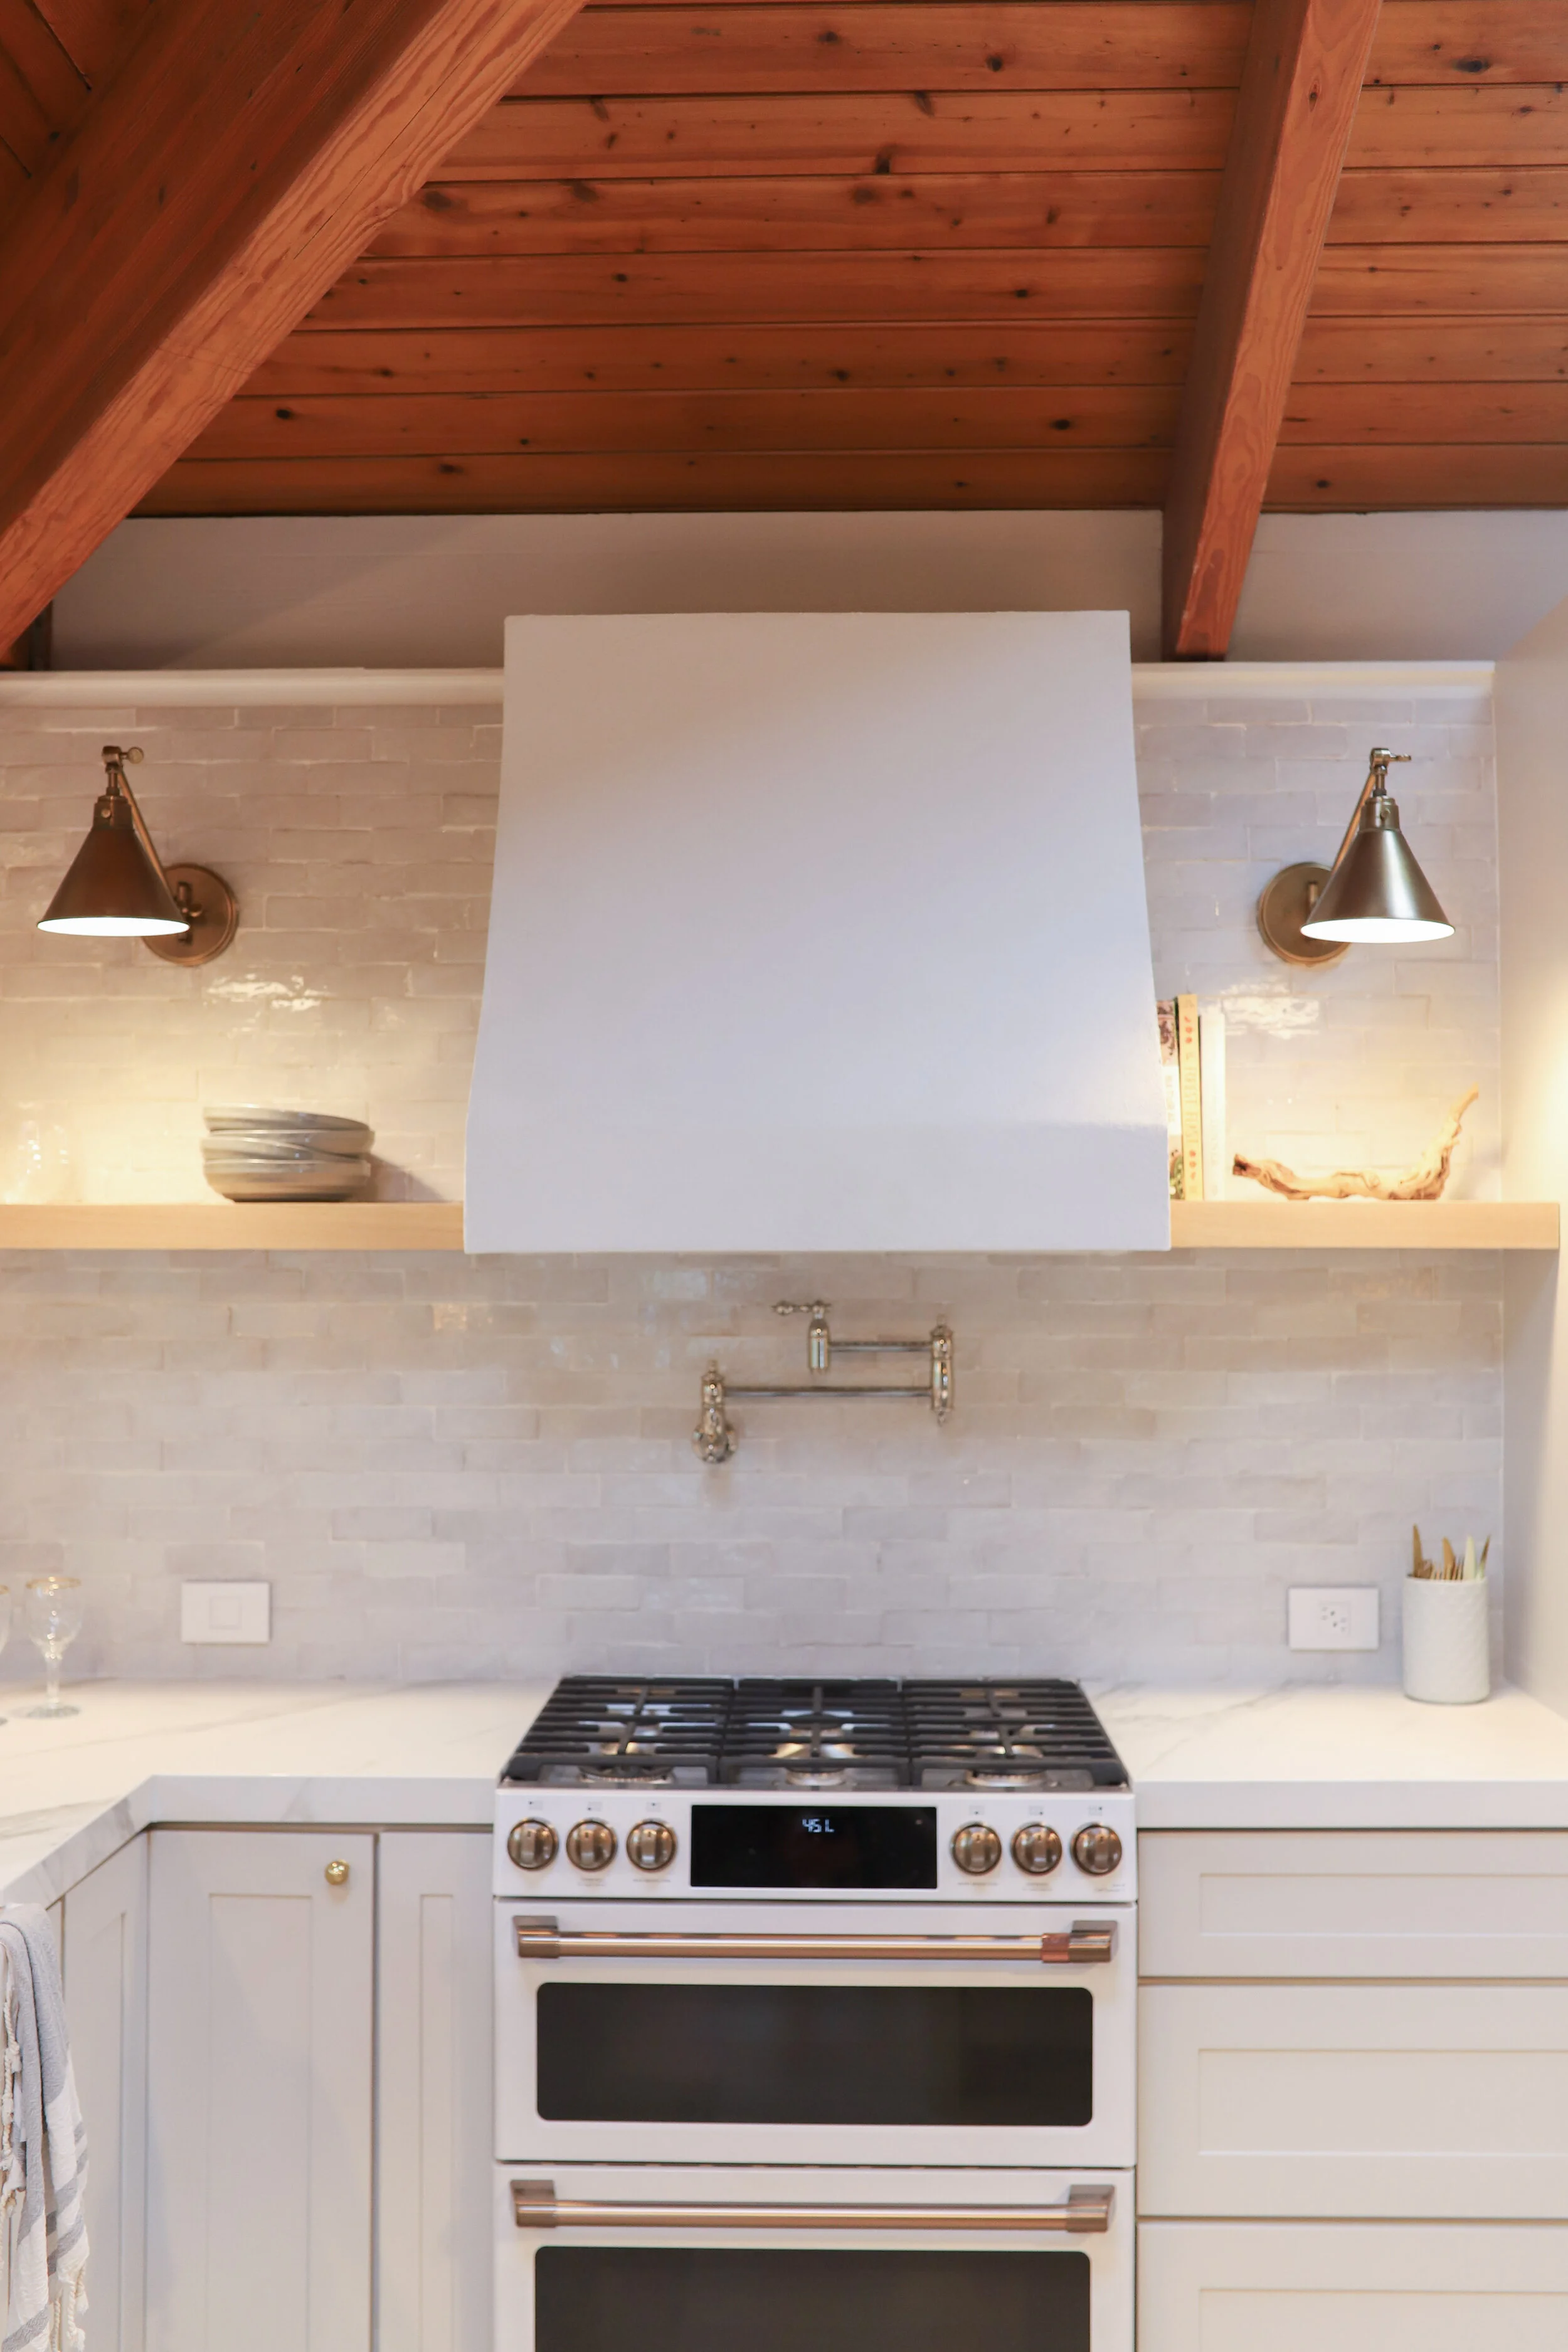
DIY: How to Make A Plaster Range Hood
Week 1 Week 2 Week 3 Week 4
Week 5 Week 6
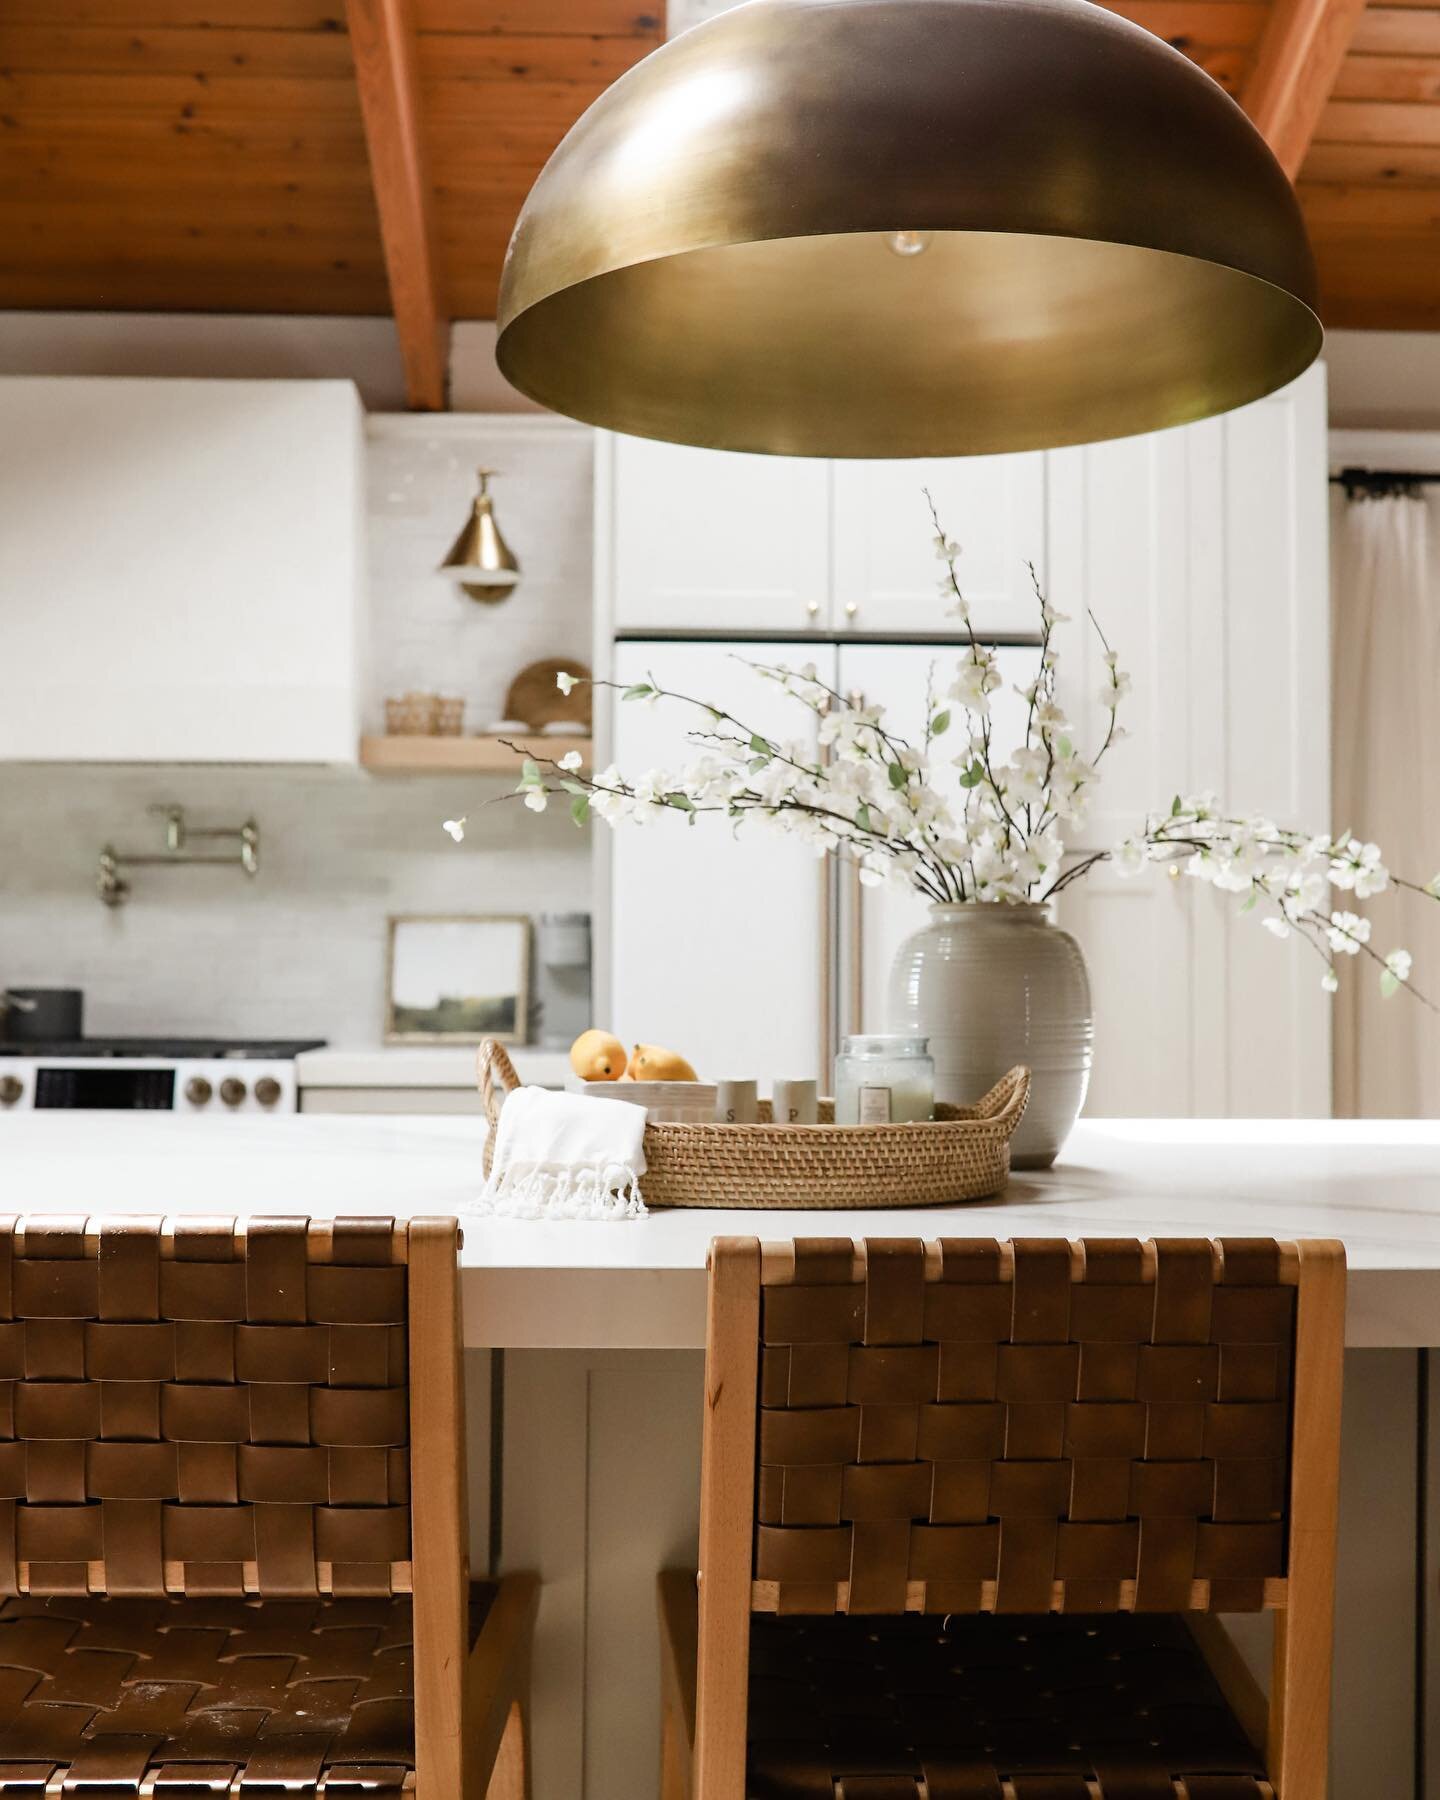
It’s Week 5 (of 6) of the Fall 2020 One Room Challenge and it’s legit cray that next week reveals start- say whaaaaat? Considering we have no countertops, backsplash, or paint on our cabinets half of me thinks there’s no absolute way we’ll be done in time. But the other half of me, the sleep-deprived “one last push” side of me says, there’s a chance we’re gonna make it. And oooooh boy, nothing like a little self competitiveness at the final hour to get this room reveal ready to get me going. Cabinets get painted this weekend, countertops get installed in 5 days, then backsplash gets done, shelves and lighting go up. All the stuff is here to make it happen, we just need the time to do it. But enough of the anxiety-provoking thoughts. Let’s talk about this rangehood, our lovely Venetian plaster range hood. Let’s get into how this was made.
DIY: How to Make a Plaster Range Hood
M A T E R I A L S:
1 X 6” pieces of wood (We used 2x6” because it’s what we had, but it just added more weight. Use 1x’s if you can)
Wood Screws
1/4” Plywood
Corner Beads
Joint Compound + 220 grit sandpaper
Wood Putty
Venetian Plaster - Marmorino Piatto “Pure White”
Sherwin Williams Extreme Bond Primer
Drywall Trowel
F R A M I N G
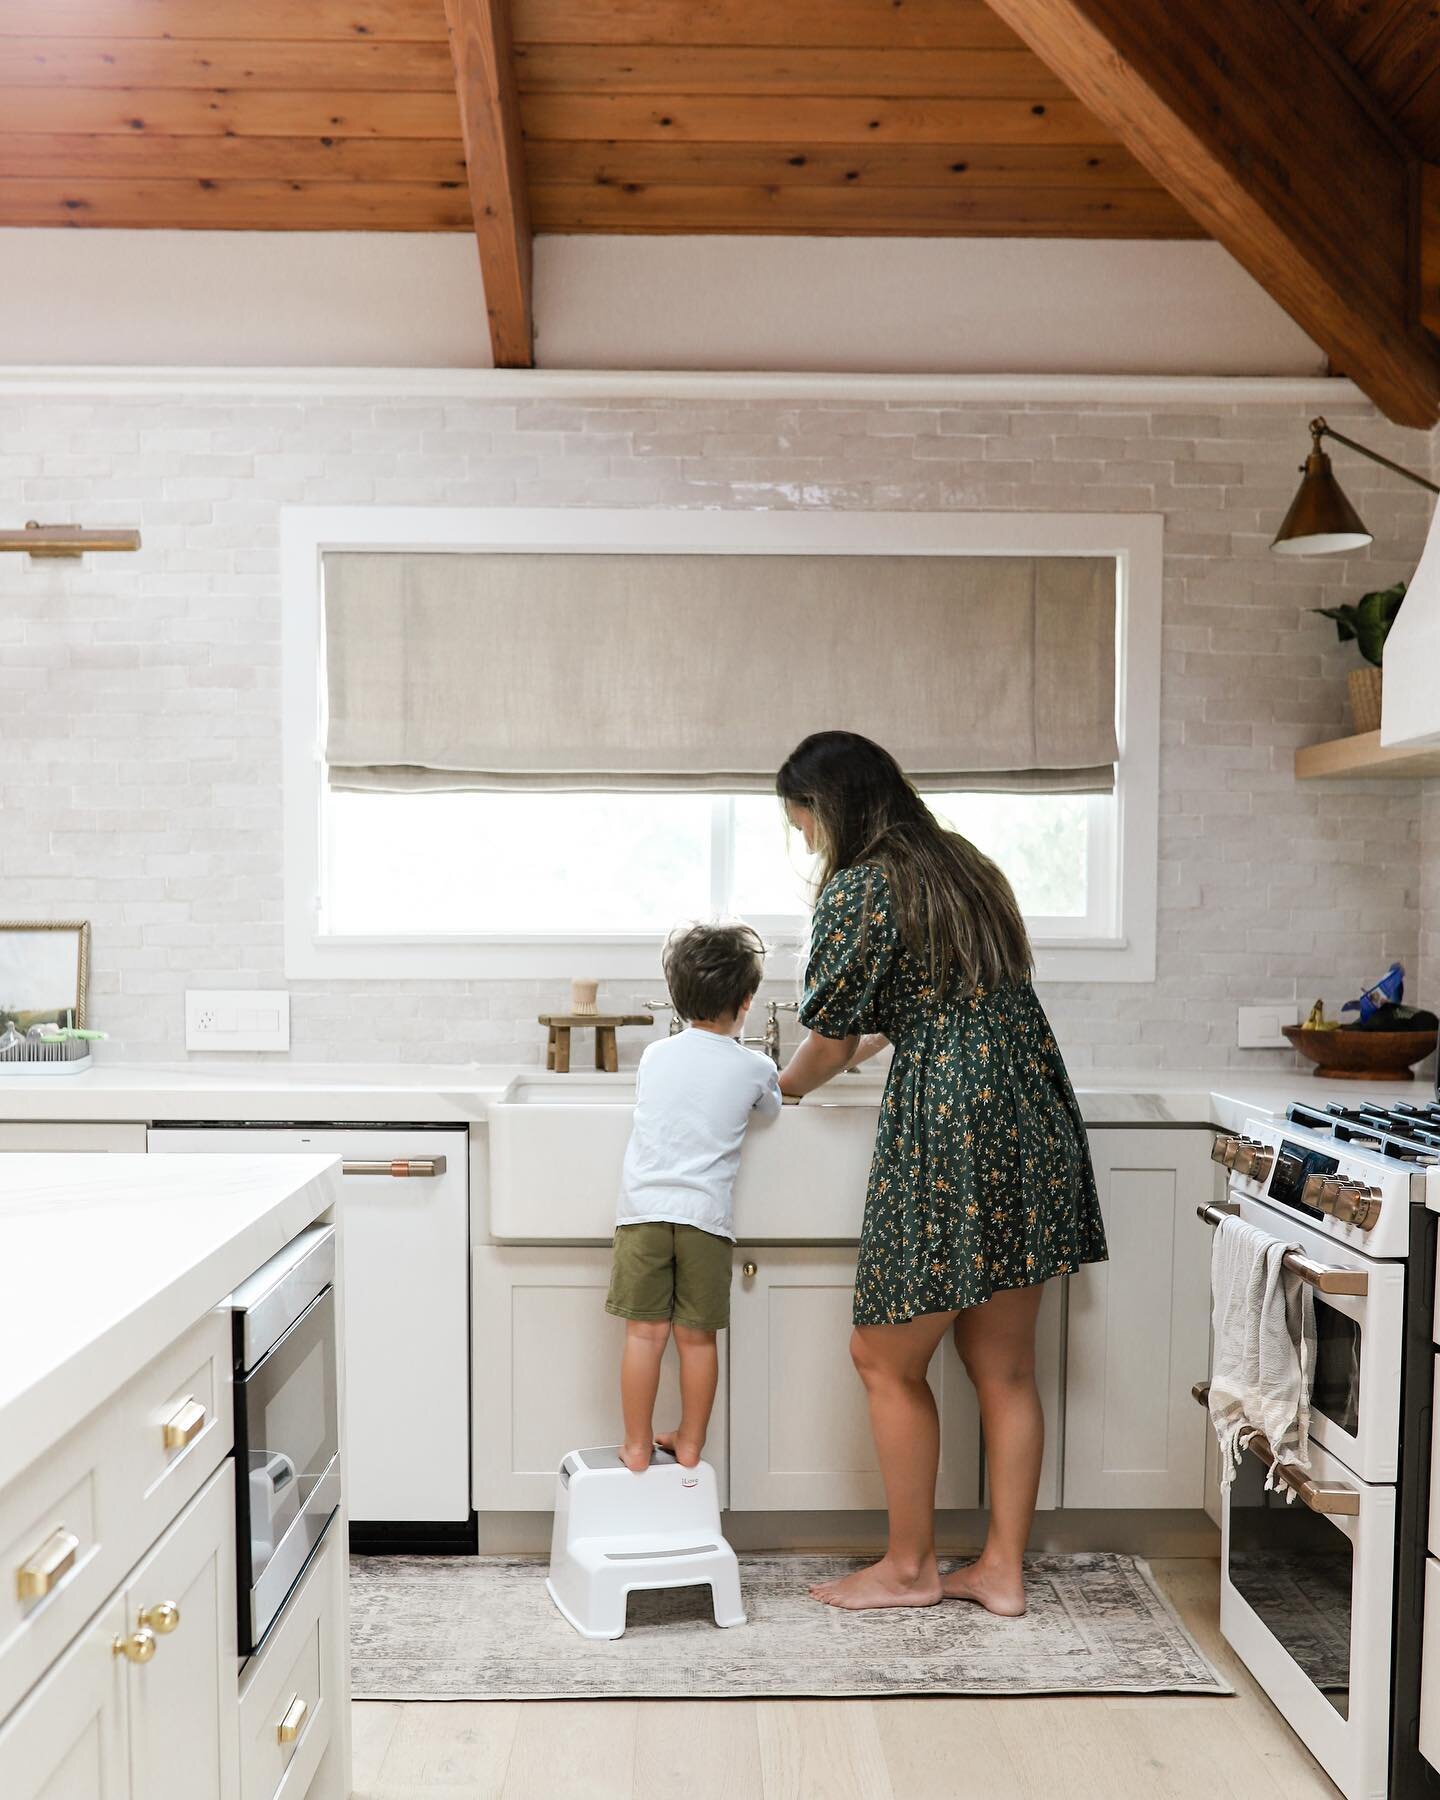
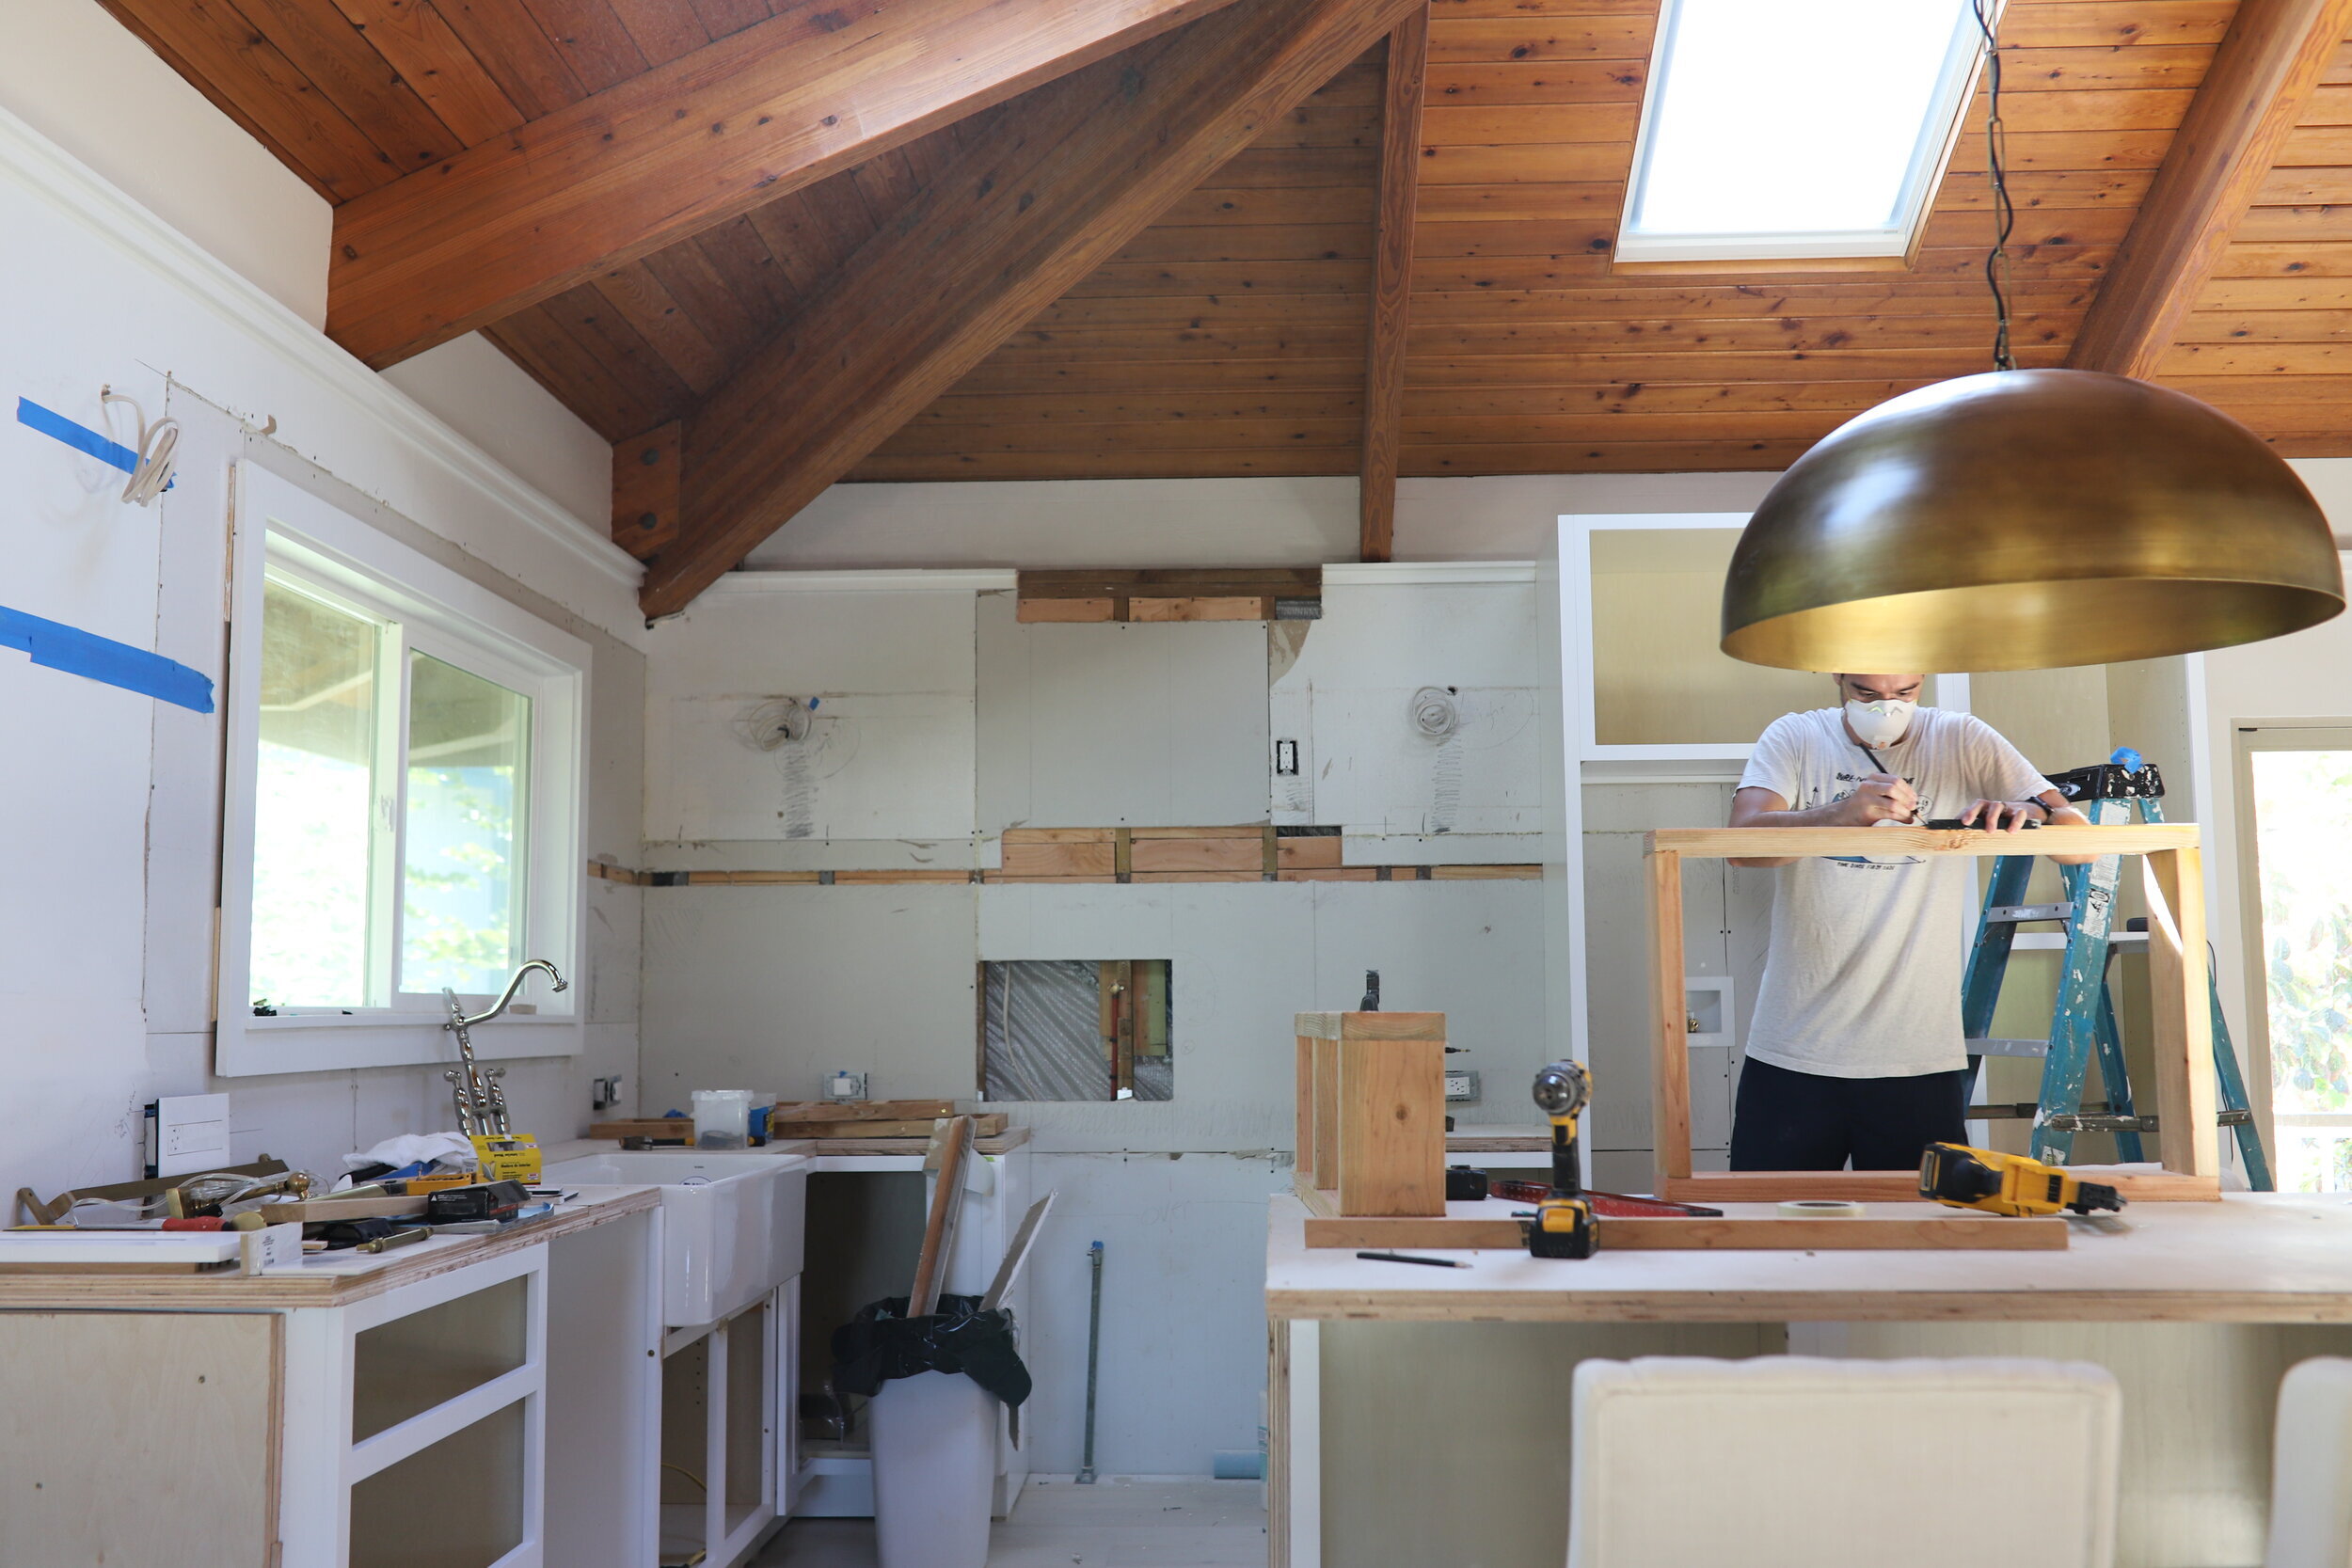
From the get go of the kitchen renovation I knew that I wanted to do a plaster-esque range hood. How that would come to fruition I wasn’t quite sure. Nevertheless, we planned for it by adding a bunch of blocking behind the drywall while we were messing with the plumbing and electrical. Because I didn’t know the details on the height etc, there’s a lot of wood at different heights behind the drywall, but it’s ok, better to have more than not enough. I looked online at what the minimum distance is from the bottom of the range hood to the top of the gas stove, and the interwebs said 24-30”. For an electric range, 20-24”. We set ours at 26” cut out the drywall at that height. I wanted the open shelves on the left and right of the range hood to line up with the bottom of the hood, so we cut out the drywall there as well.
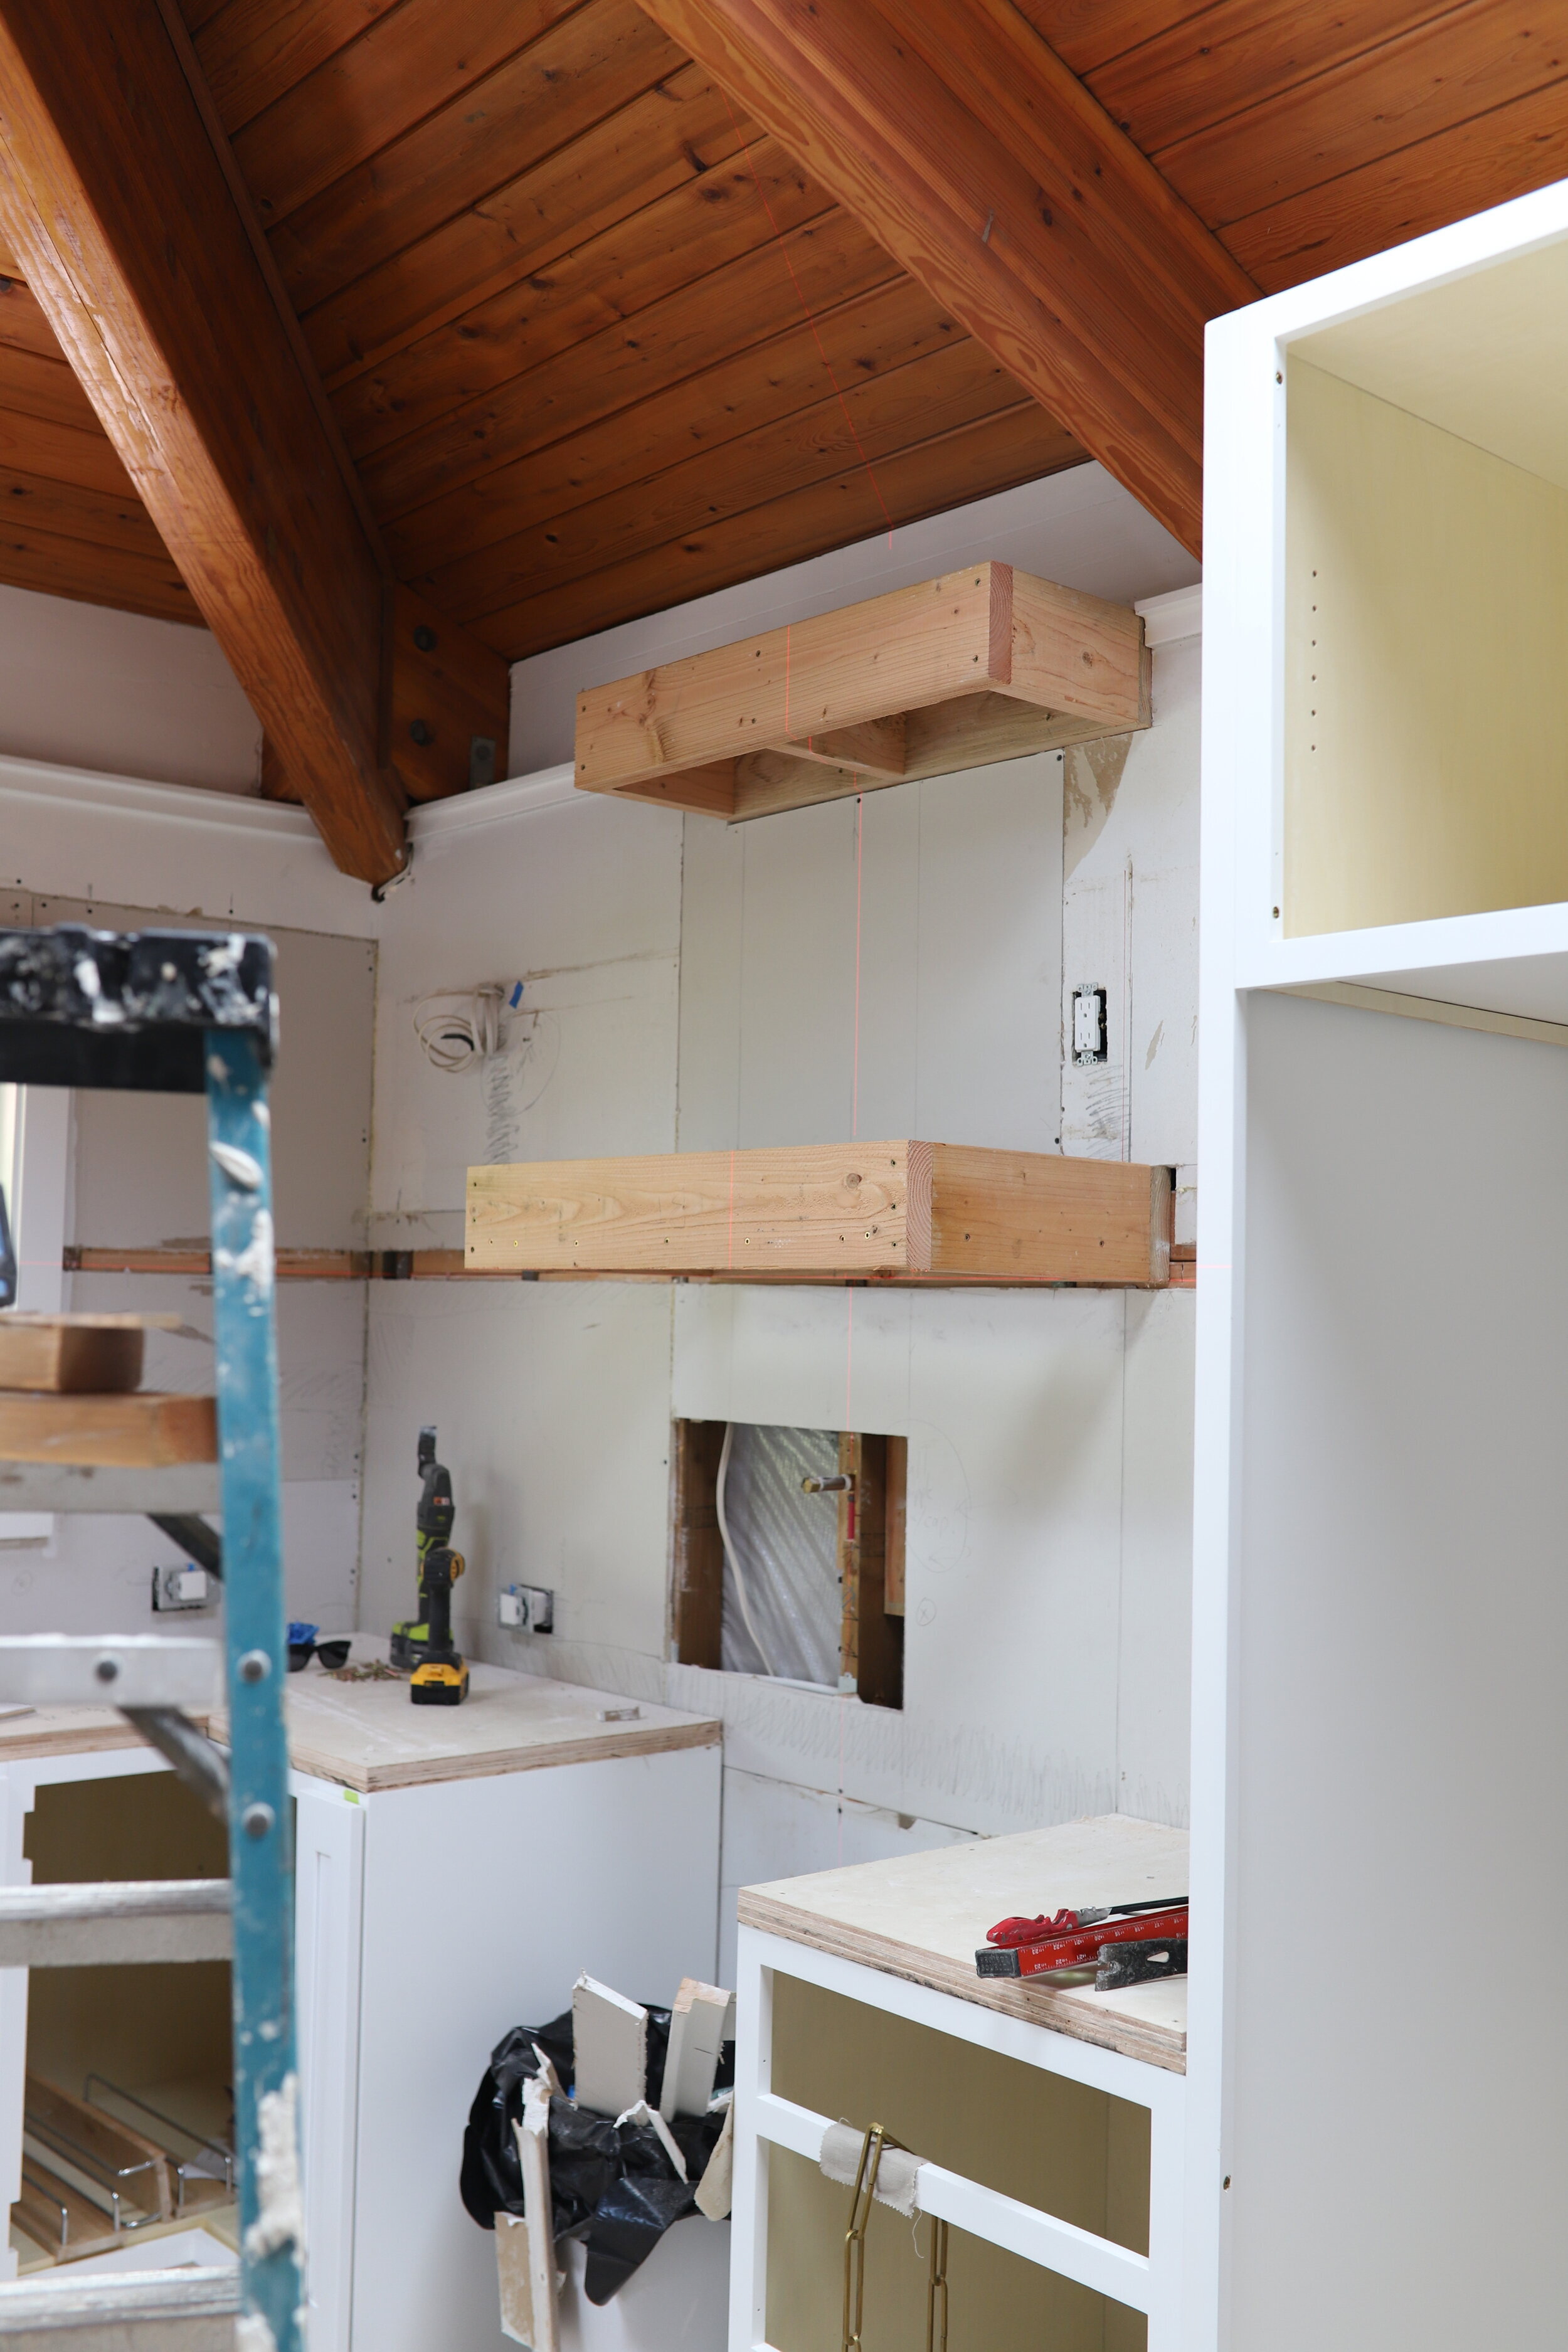
We used 2 x 6’s and 2 x 4’s to create the basic shape of the range hood. However, we would recommend using 1 x 6’s and 1 x 4’s to add less weight. It’s totally fine to use 2x’s, which is what we did because it’s what we had on hand. Because I wanted the range hood to start larger at the bottom and get slightly smaller at the top, mike used the 2 x 6’s to create two boxes, the top slightly smaller than the bottom. The bottom box is 2.5” wider than the top box, this created a slightly less modern look, but with just a slight angle, it didn’t pull too farmhouse.

C U R V I N G
We read a blog post by Plank and Pillow, as they had done a very similar project with a front curve and had suggested using MDF to frame the front because it was bendy. That seemed to work really well for them, however, their range hood was overall significantly taller than ours, which allowed the MDF to bend more naturally. Because ours was shorter in height, there was more tension and the MDF didn’t want to give us a nice enough curve. Mike ran the MDF through the table saw a bunch of times (set the blade super low) which allowed the MDF to bend more.


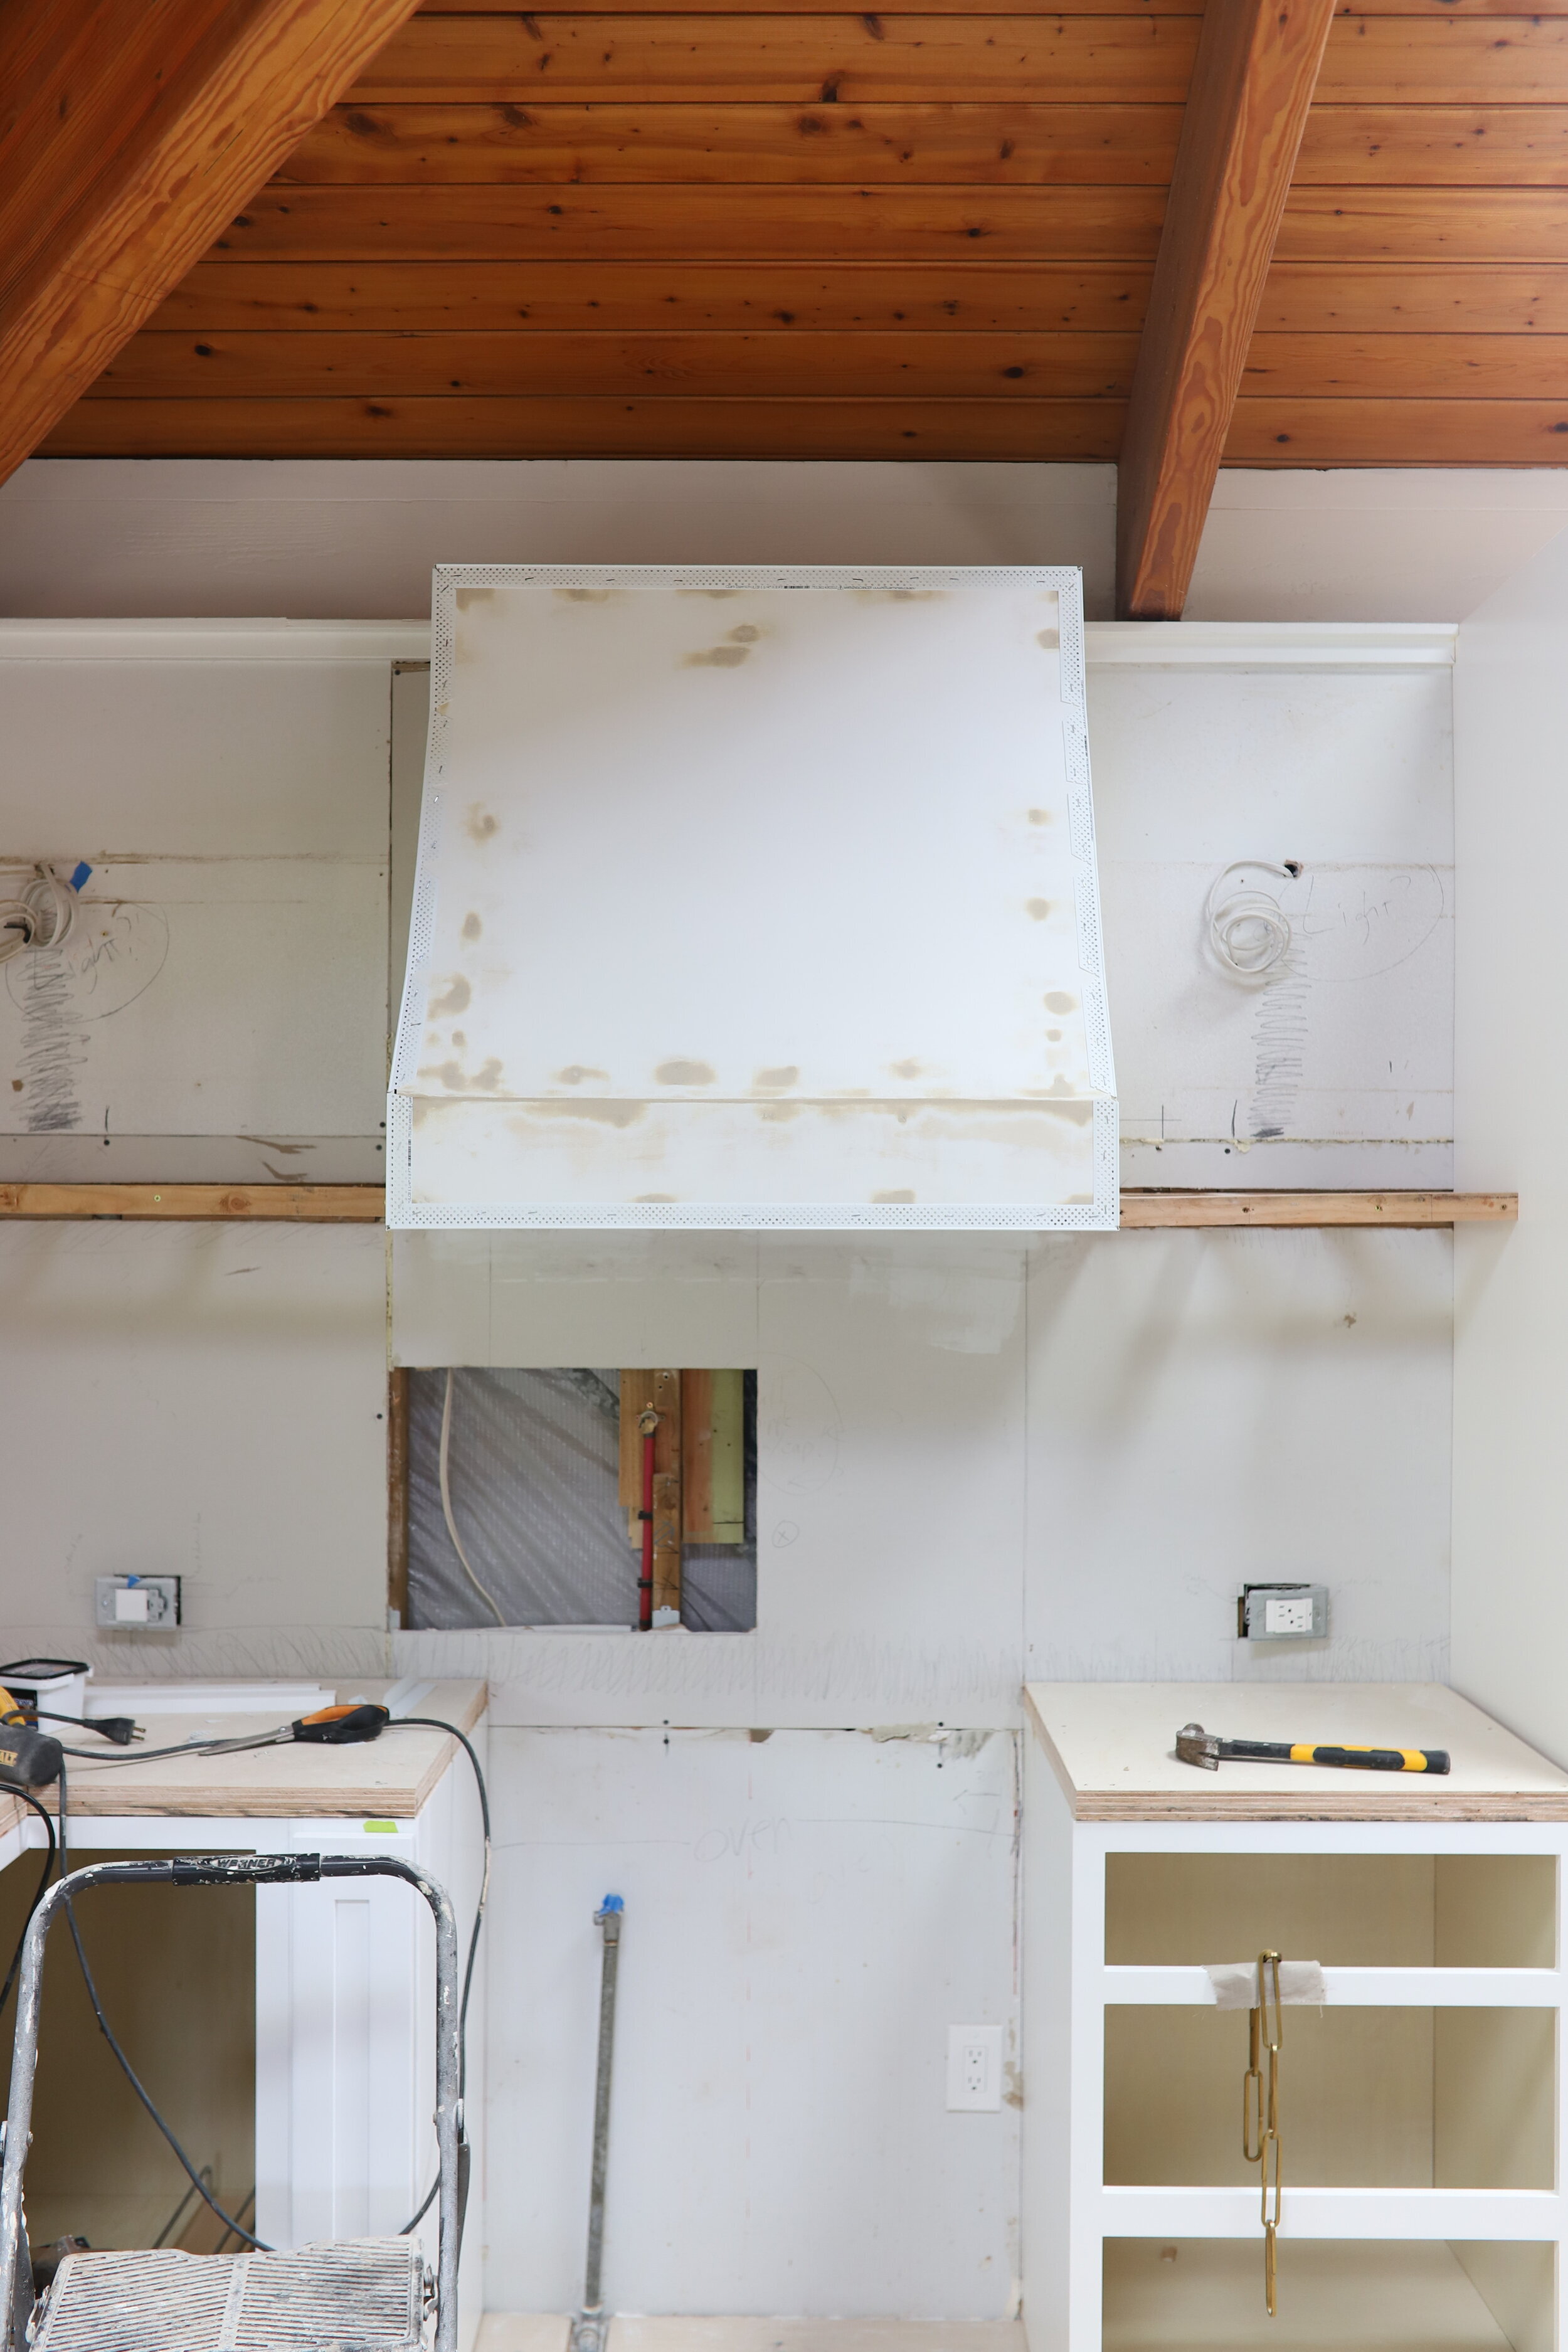
D R Y W A L L vs. P L Y W O O D

At first we cut out a piece of drywall to place over the front of the curved MDF, however, when we screwed in the drywall, it did not curve at all. So we decided to go with 1/4” plywood, which was bendy enough to maintain the curve of the MDF underneath it. We used wood screws, screwed in the plywood on all sides, and used wood putty to fill the gaps. We then added drywall corner beads and will put a layer of joint compound over it. After the joint compound we put a coat of SW Extreme Bond Primer on it so the plaster would have something to stick to.
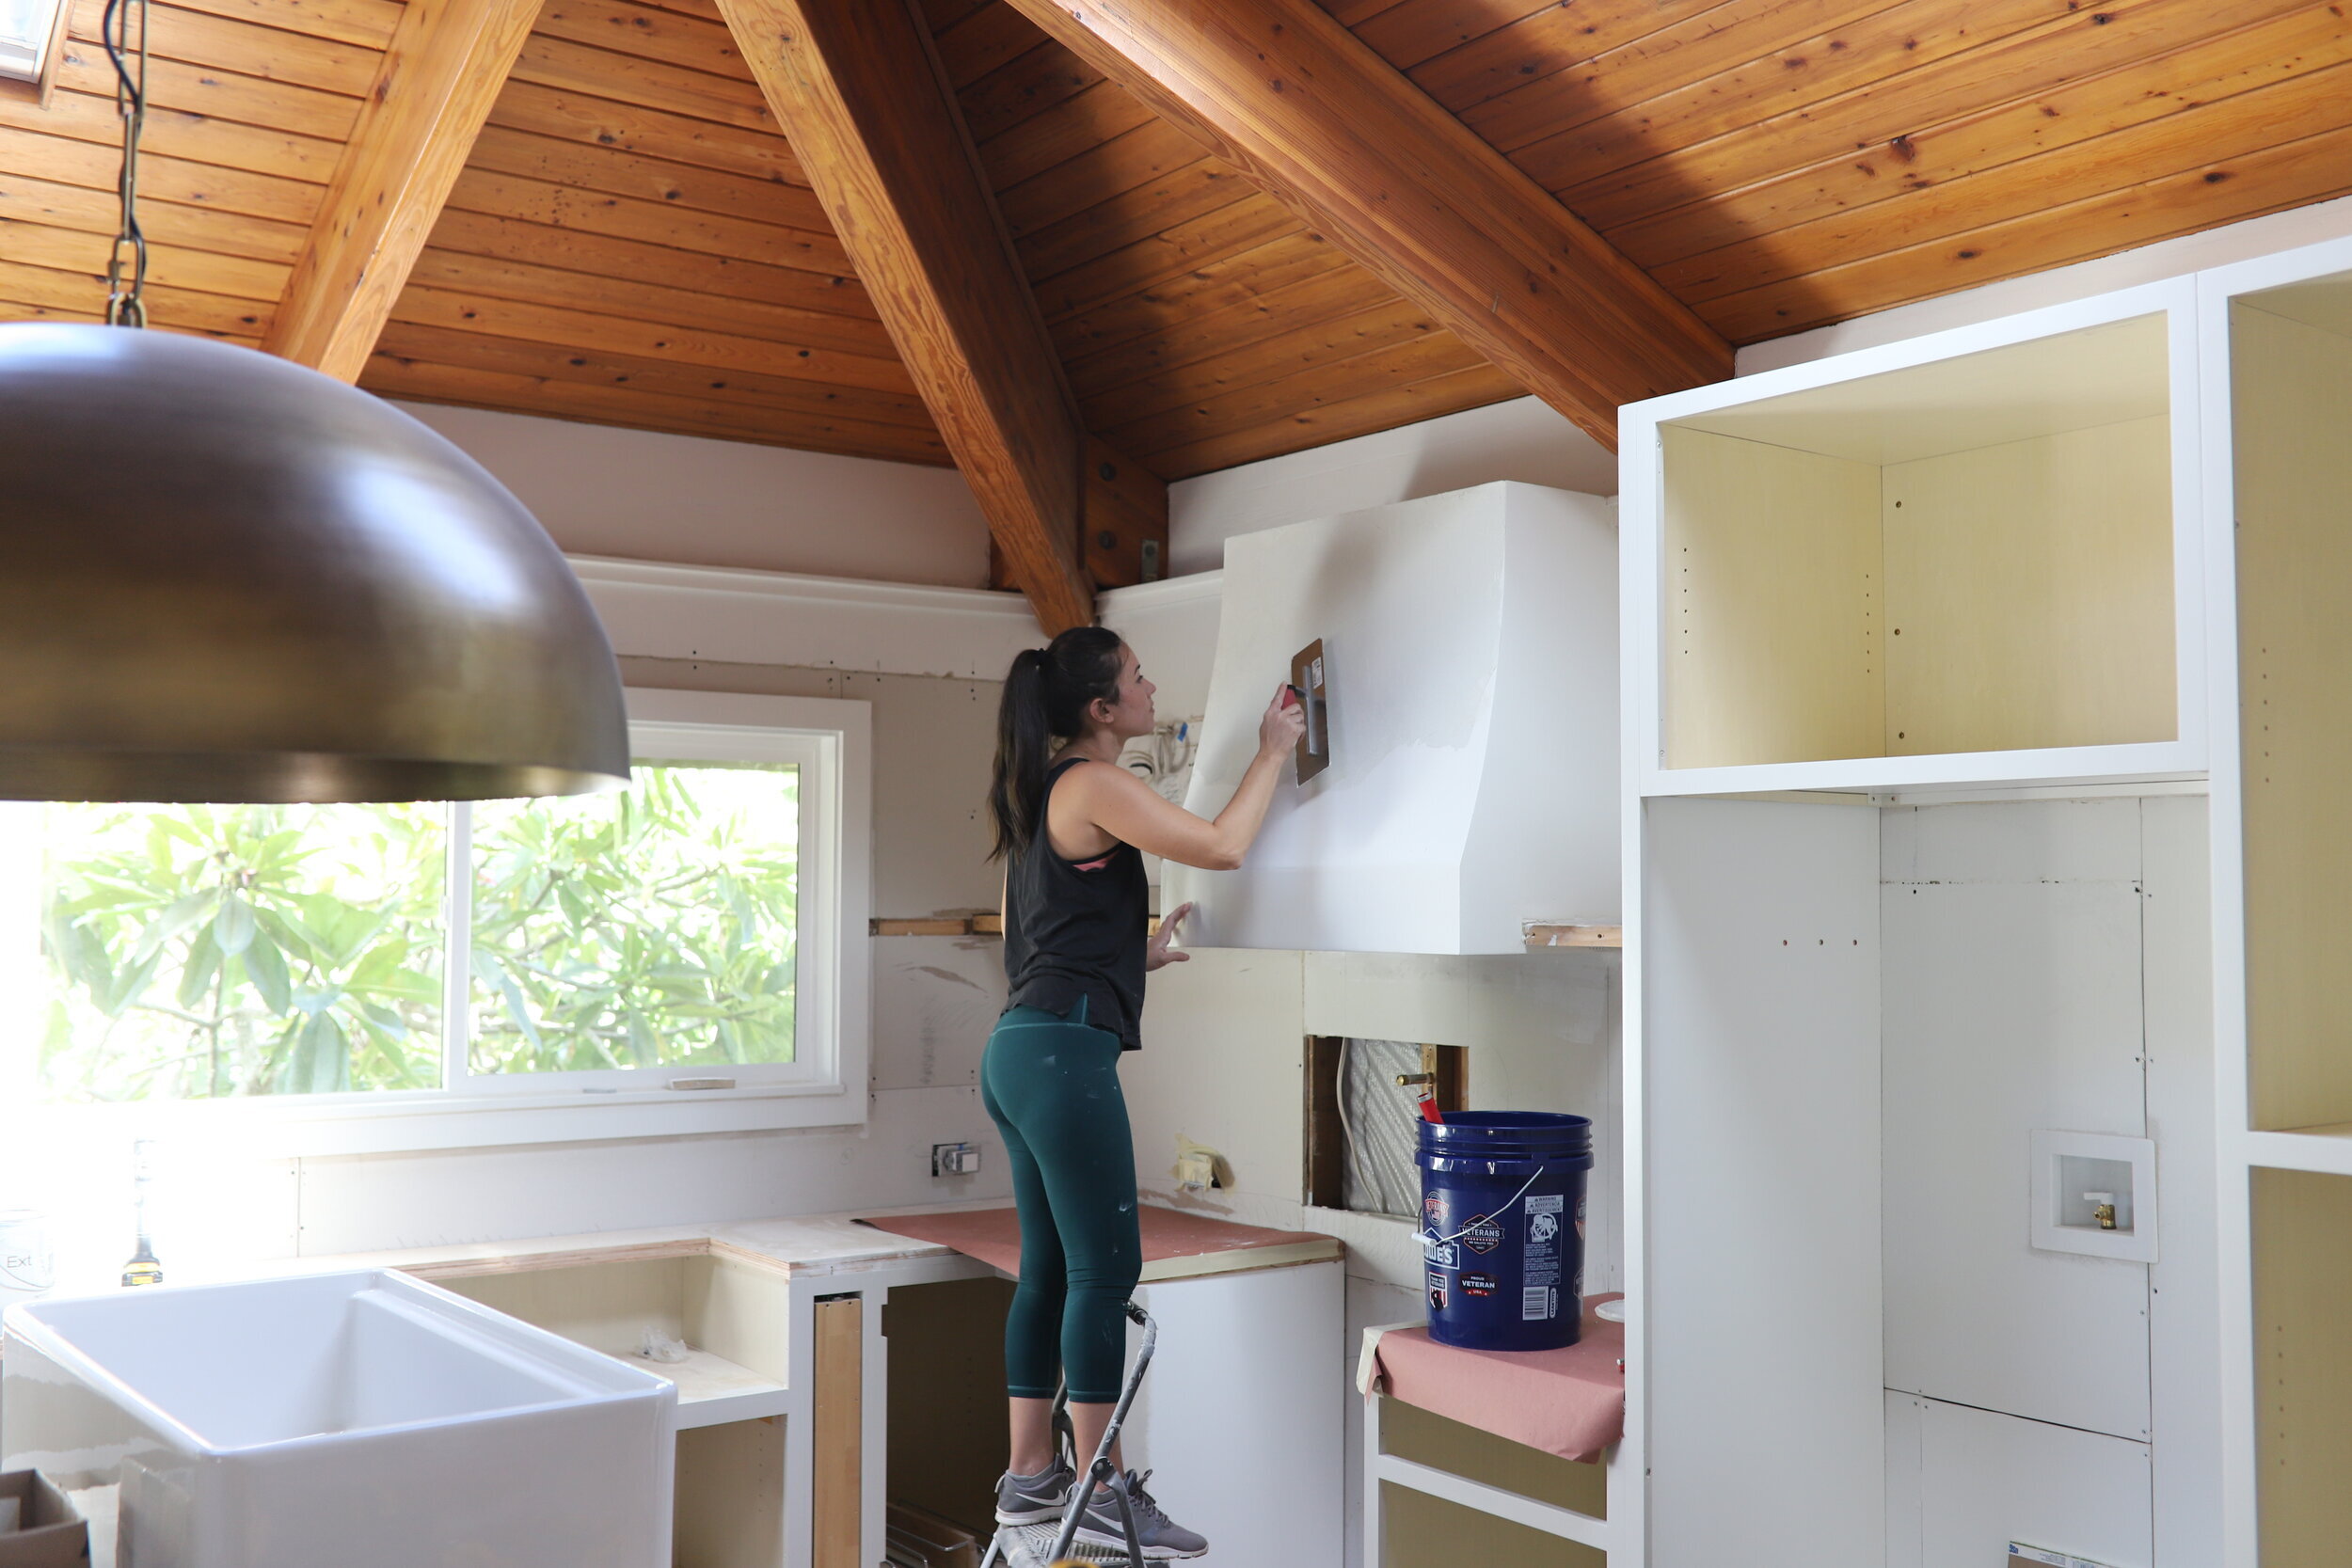
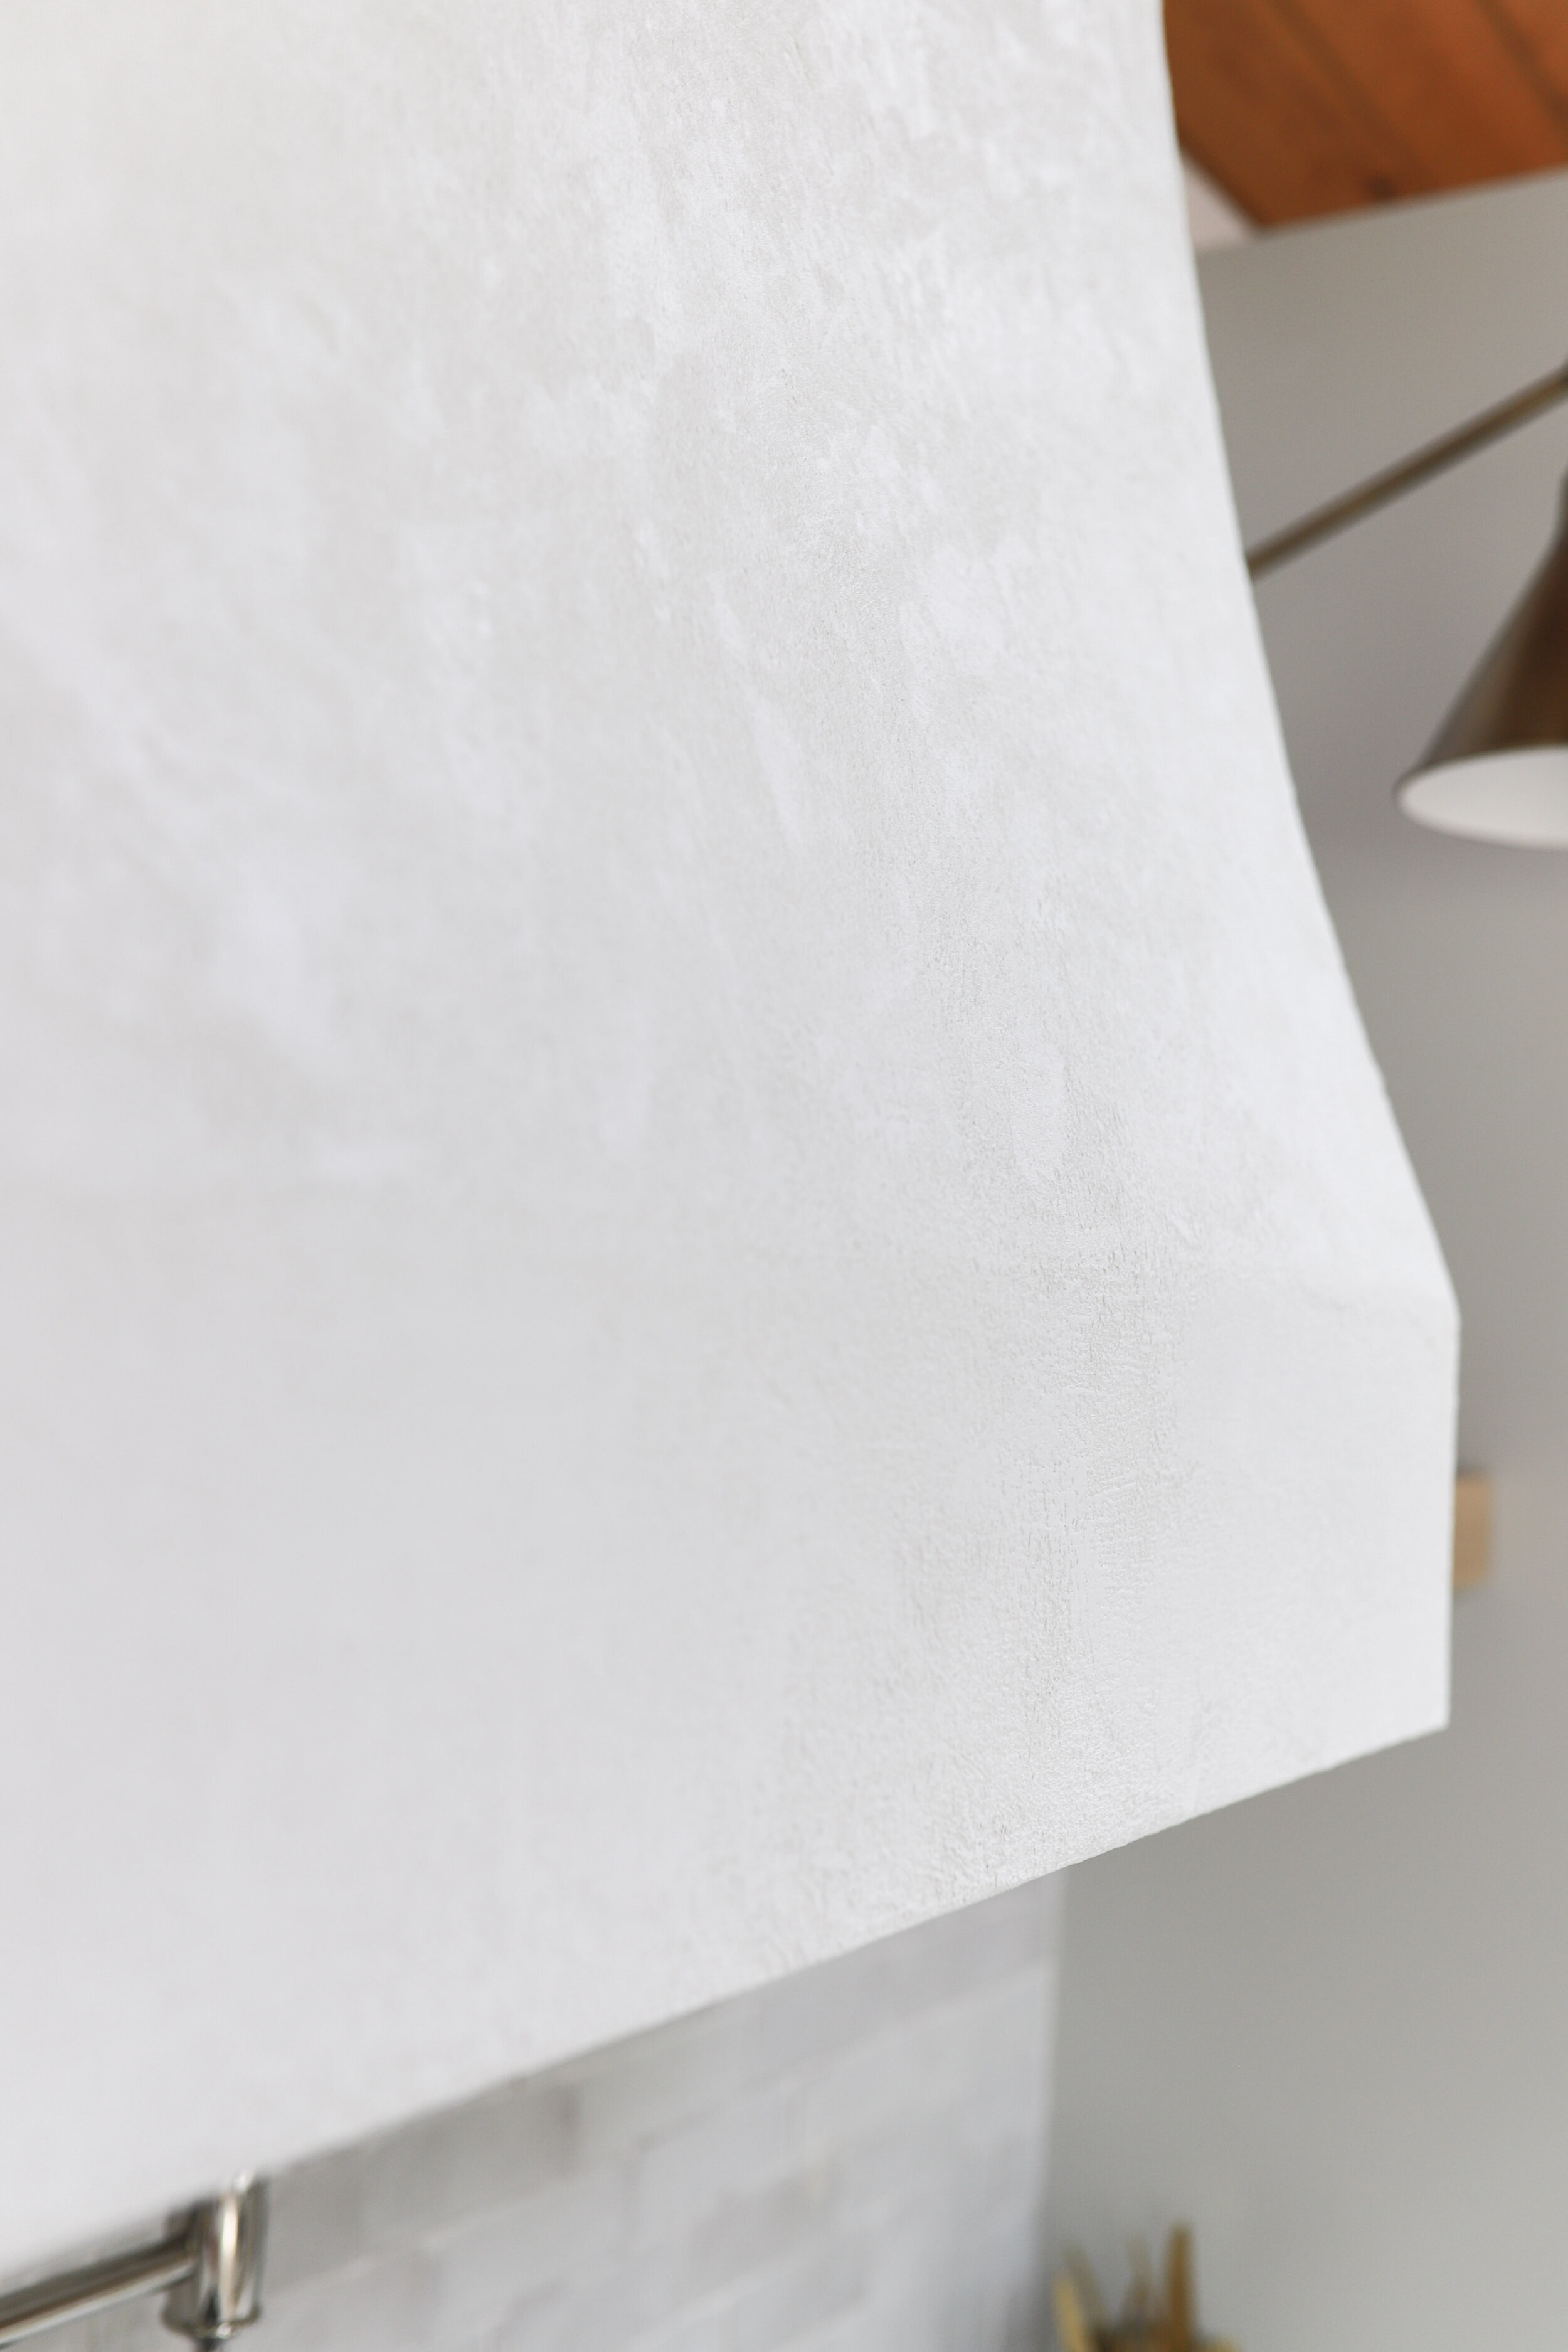
P L A S T E R
I ordered Marmorino Piatto from Venetianplaster.it and they tinted it in the same color as my walls, which is Sherwin Williams “Pure White”. I rolled on the plaster with a roller, and then used a drywall trowel to smooth it out. The texture is E V E R Y T H I N G. It dried really quickly so I just did one side of the range hood at a time. It went on a grey color, and dried white. I just used about half of a 1 Gallon, and put on two coats.
There you have it, let me know if you have any questions in the comments below, I’m happy to help!

Check out all the other participants here.