How We Added Skylights to Our Bathroom
This blog is sponsored by VELUX skylights, although all opinions are my own.
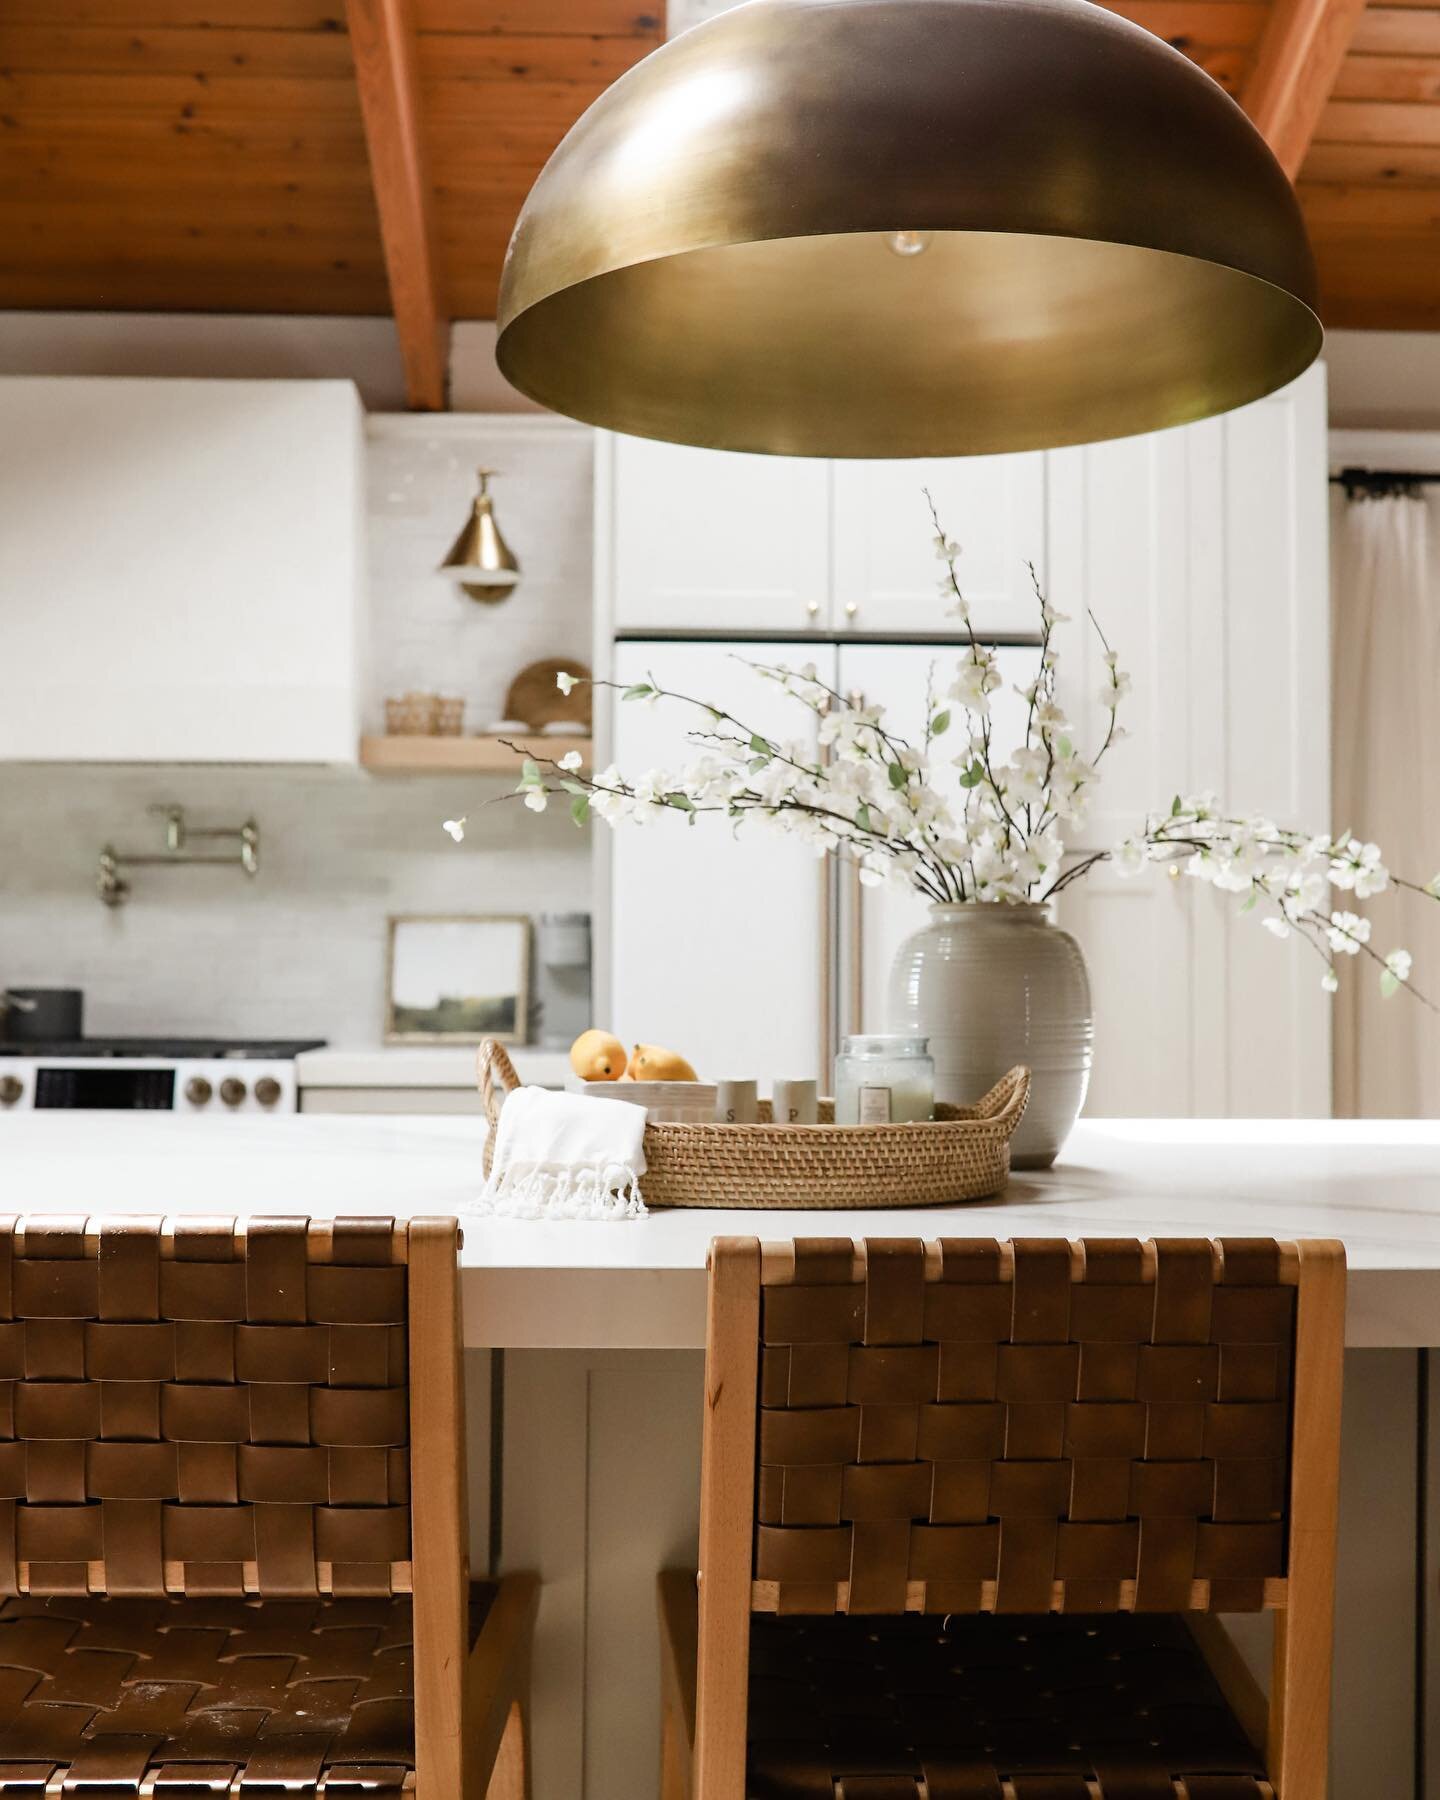
The Plan Design Plan Adding Skylights Terracotta Tile Tufted Headboard Zellige Tile DIY Fluted Doors REVEAL
It’s Week 3 of the One Room Challenge and I’m feeling preeeeetty good because we hit a huge milestone this week! Never mind all the things that we didn’t do that we were supposed to, like wrap up the plumbing, start tiling, finish the electrical and paint our closet doors. Yeah let’s not talk about that, back to the one big thing that we DID get to check off of our “to do” list!
If you followed along with our last One Room Challenge you may remember me raving about adding VELUX skylights to our kitchen and how it was my absolute most favorite thing we did during that renovation. Well, I’m happy to report, it 100% still is! I love our skylights so much that it was a no brainer to incorporate them into our bathroom design. The natural light that it brings in our most used room of the house just makes me feel good. My mood is better, I feel happier, and it just brings me joy to see the blue sky and sunlight shining in.


How We Added Skylights to Our Bathroom
Why VELUX
We chose the VELUX Solar Powered No Leak “Fresh Air” Skylights, and we are so glad we did because this product checked all of our boxes:
Able to be opened with a remote control to let out hot air (key for our vaulted ceilings)
Glass is energy efficient (dual paned loE3) blocks most UV rays
Solar-powered (no hardwiring required)
Rain sensors automatically close the skylight (it rains a LOT in Hawaii)
Smartphone compatible
In addition, these skylights also come with a 10 year No Leak warranty on the product and installation (you must install them according to the instructions provided by VELUX, including using the VELUX flashing kit), but that’s huge!
The Design Plan


The guest bathroom we are tackling is teeny tiny and we tried to brainstorm ways to make it feel bigger. We debated removing our utility closer or removing the bathtub and replacing it with a shower but Mike had an idea that was a winner -remove the drywall ceiling and expose the vaulted tongue and groove wood. Although adding more framing and drywall would cost us more money and time, the space needed something extra. He crawled up in the ceiling and luckily only found one vent that we would need to reroute. So we demo’d the drywall ceiling and voila! The beautiful vaulted ceiling opened up the space and instantly made it feel better. However, it still felt somewhat cramped, and it was definitely super dark. The VELUX skylights were the answer!
Step 1
We had the same contractors do the install that we used for the kitchen - On Top Roofing - and you can find an installer near you by entering your ZIP code here. We mapped out where we wanted the skylights installed by placing blue painters tape on the ceiling. VELUX does offer virtual design consultations and can assist you with determining what rooms in your home would be a good fit for skylights. You can choose from an audio or video chat, all from the comfort of your own home! You can learn more about their virtual design consultations here.


Step 2
Next they nailed down the deck seal to the roof deck. Then, the all-weather underlayment was installed around the skylight. Lastly, the step flashing was installed. You can watch more detail of the exact process here. All three of these steps make the skylight “No Leak”, and the VELUX flashing kit is required for the 10 year No Leak warranty.

Step 3
We ripped down pieces of pine and stained it the same color as the ceiling, we used this to trim out the skylights and give it a finished look, just like we did in the kitchen. We still have some wood putty-ing and staining to do, but overall, it’s looking pretty sleek!
Overall, the difference is absolutely mind blowing! The natural light makes the space really feel bigger and helps create a sense of height. The wood ceilings can shine in all their glory, and not to mention the added practical benefit of air circulation and assisting with keeping the bathroom dry. I’m so excited to start getting the finishes installed so we can really see how much of a difference all that natural light makes.
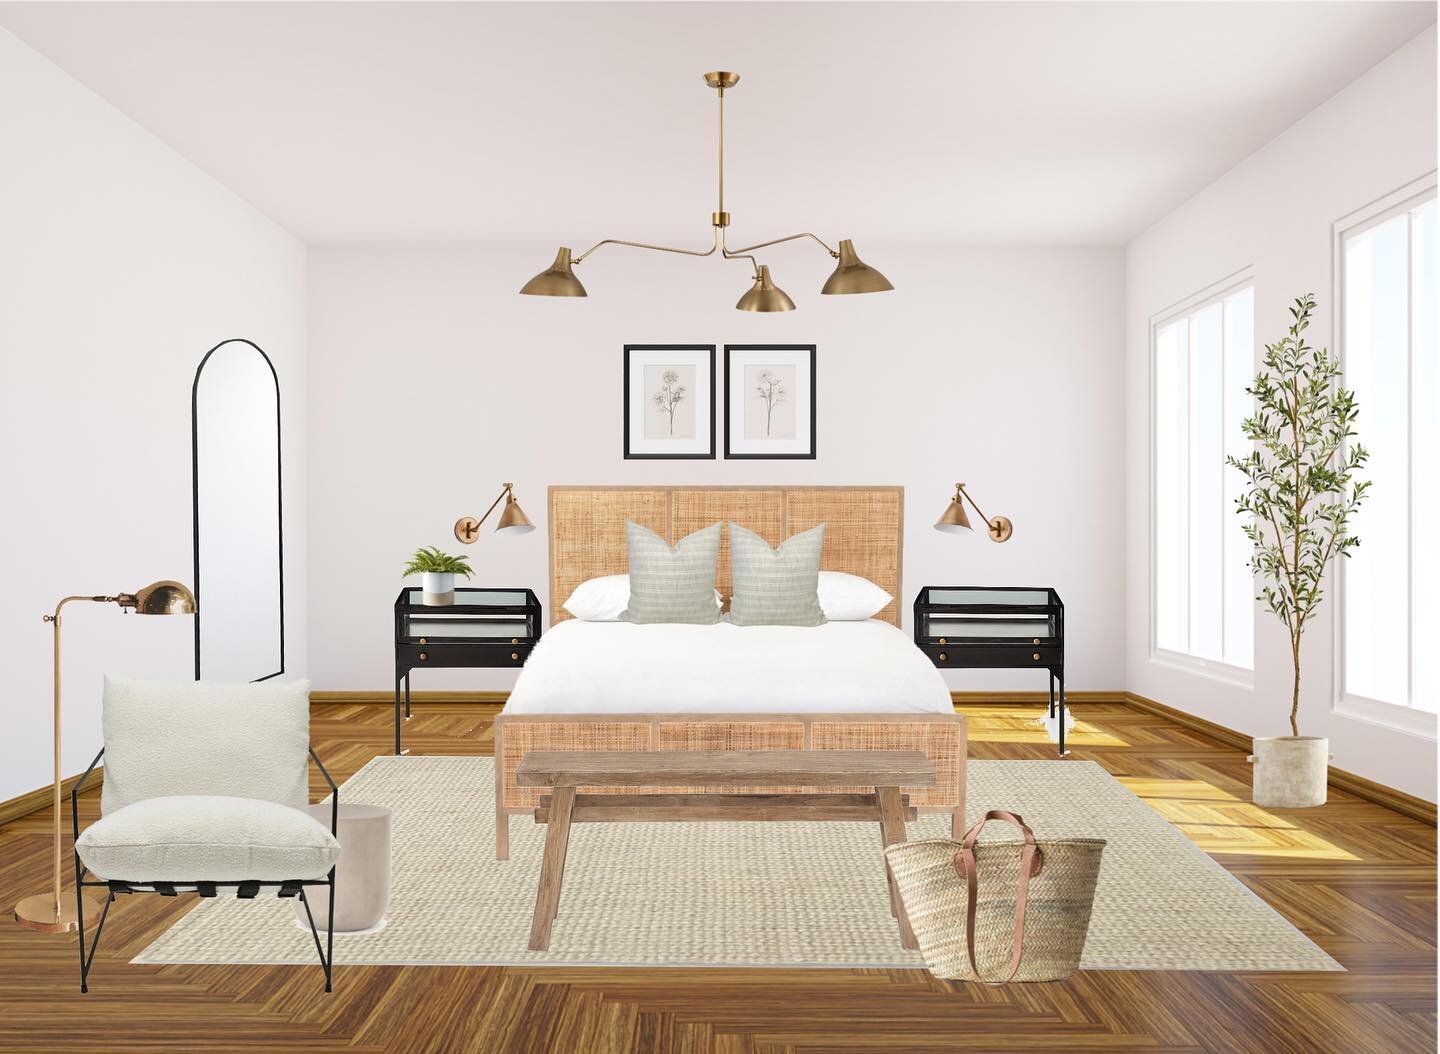
Up next we’re going to get started on the tile work after we wrap up the plumbing. All this ugly waterproofing will slowly get covered up. We’ll hopefully have our vanity onsite next week as well, and this place will really start to take shape! Oh yeah, since we’re also doing a bedroom for the challenge, it might be time to start on that. Stay tuned!
Don’t forget to check out the other Featured Designers below, lots of amazing progress this week!


Here’s an update of the finished space with the skylights in all their glory! you can see how much natural light has been added, even on a slightly cloudy day!
The renovation from start to finish:
The Plan Design Plan Adding Skylights Terracotta Tile Tufted Headboard Zellige Tile DIY Fluted Doors REVEAL

Ariene C. Bethea | At Home With Ashley | Banyan Bridges | Bari J. Ackerman | Brit Arnesen
Brownstone Boys| Cass Makes Home | Dominique Gebru | Gray Space Interiors| Haneen's Haven
Home Ec. | Nile Johnson Design | Pennies for a fortune | Prepford Wife | Rachel Moriarty Interiors
Susan Hill Interior Design | This Is Simplicite | Tiffany DeLangie | Victoria Lee Jones
F O L L O W along on the ‘gram.